Return to Hobie.com
Hobie Forums
It is currently Thu Apr 25, 2024 1:07 pm

All times are UTC - 8 hours [ DST ]


Post new topic Reply to topic  [ 4 posts ] 
Author Message
 Post subject: DIY Hobie Livewell
PostPosted: Tue Aug 04, 2015 7:20 am 
Offline
Site Rank - Deck Hand

Joined: Tue Aug 04, 2015 7:00 am
Posts: 4
Location: Pasadena, MD
I know their are dozens of DIY projects out there already, but I'm proud of mine and wanted to share for anyone wishing to copy.

Parts:

RV 11 gallon water tank
600 gph pump
Hobie 8" hatch (leftover from Outback square hatch conversion)
3/4 PVC
3/4 tubing
3/4 check valve
1/4 tubing
Drain plug
Overflow
Deck connector plug end
Rubber feet, rod holders, handles, misc hardware

Image

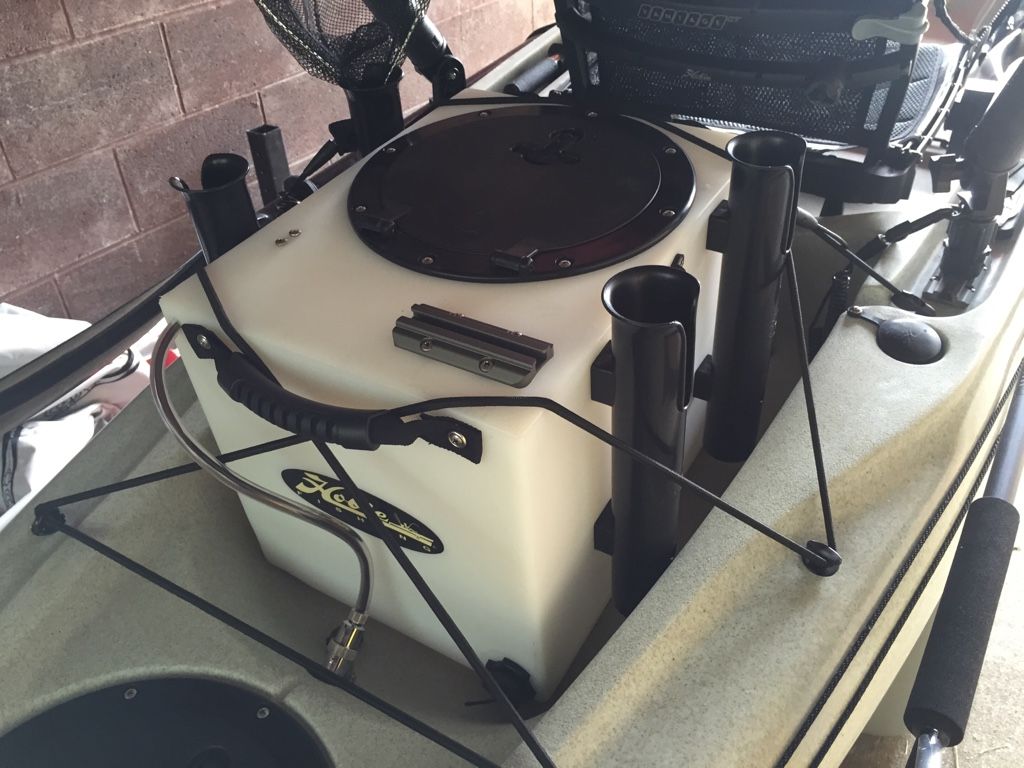
Completed tank with power connected at deck connector. After the pump is primed I can cycle water periodically via switch next to the seat.

Image

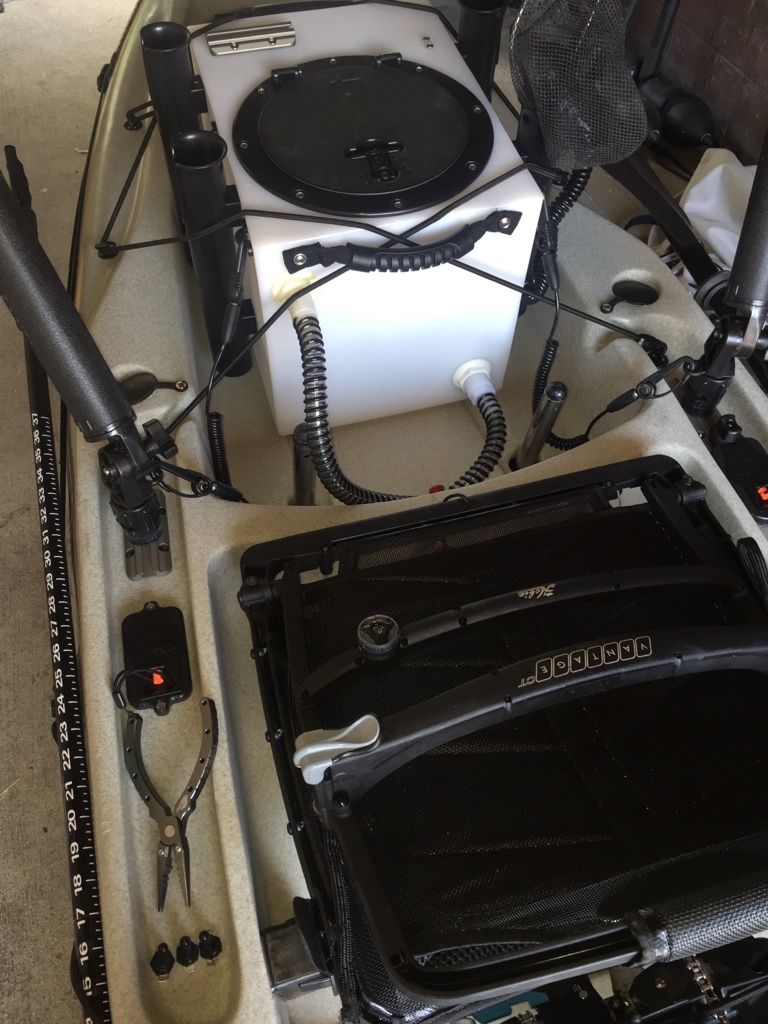
Here you can see the switch, the other two are for nav and deck lighting. Everything (lights, fish finder, deck connector) is powered by one lithium battery in the forward hatch. Both the intake and overflow pipes feed to the scuppers when cart is removed.

Image

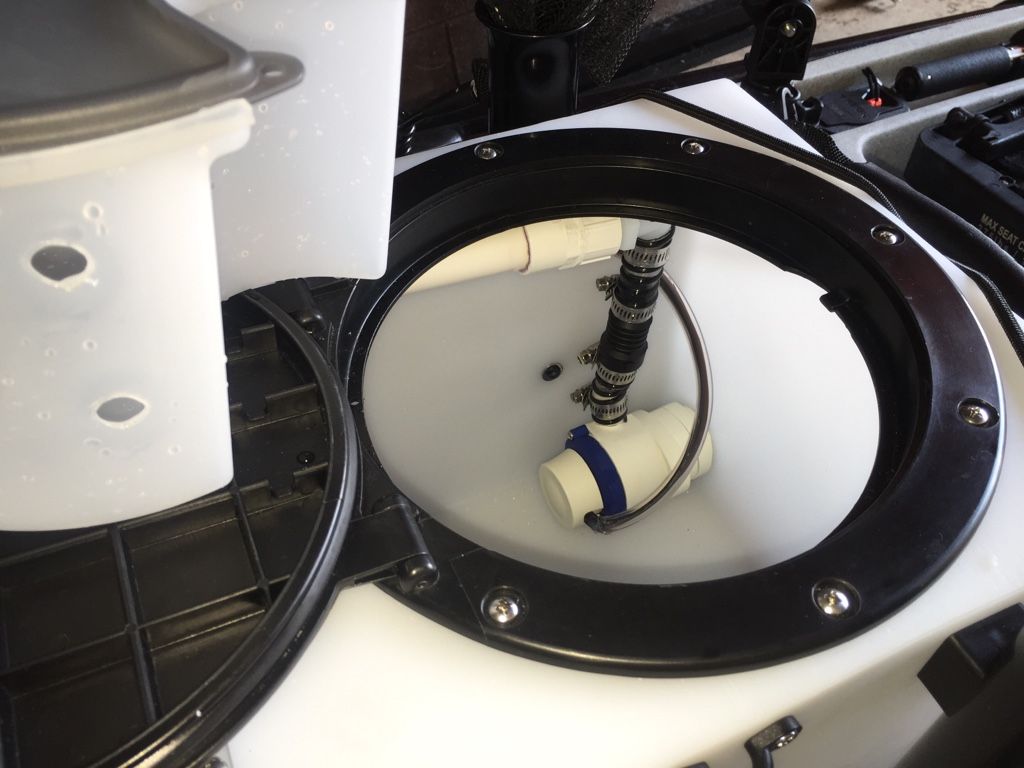
Between the spray bar and pump is the check valve, I found this necessary after not being able to draw water from an unprimed intake. The spray bar is held in place with a plastic clip so it is easily removable and the end cap of the PVC spray bar is not glued. To prime I unclip the spray bar, remove the end cap, hold my fingers over the three holes in the spray bar, then suck till water reaches the check valve. Much easier than it sounds, takes about 10 seconds. During the test run today I found the pump stayed primed as long as I kept the pump submerged (3-4" of water).

Image

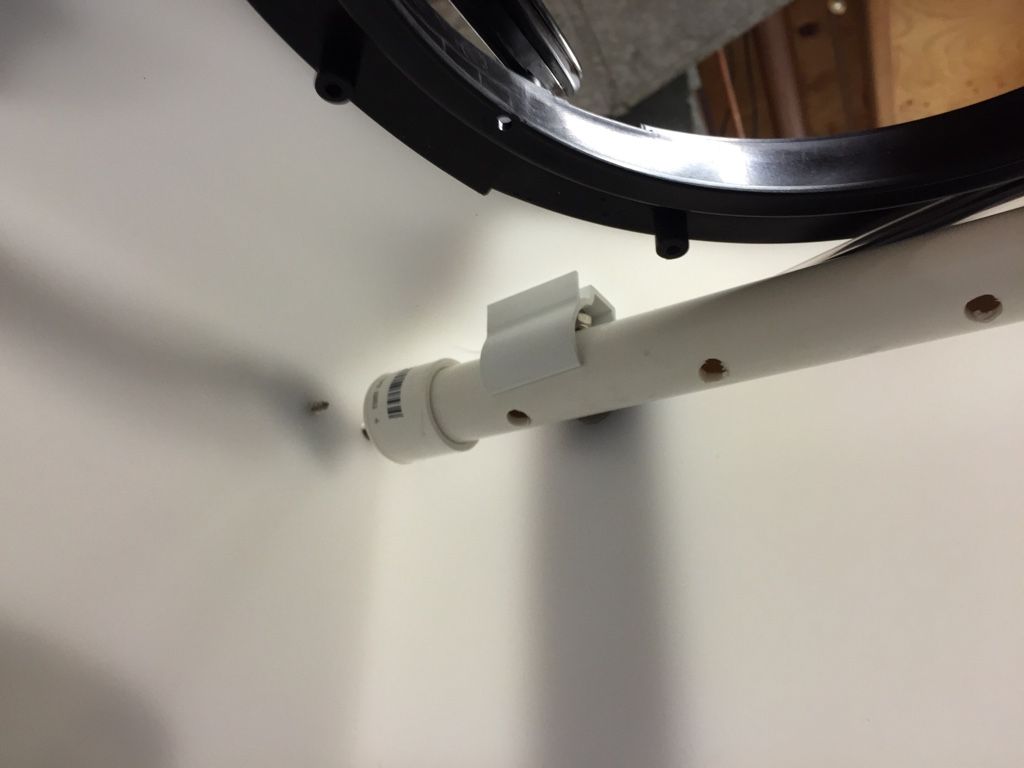
Can see the clip here.

Image

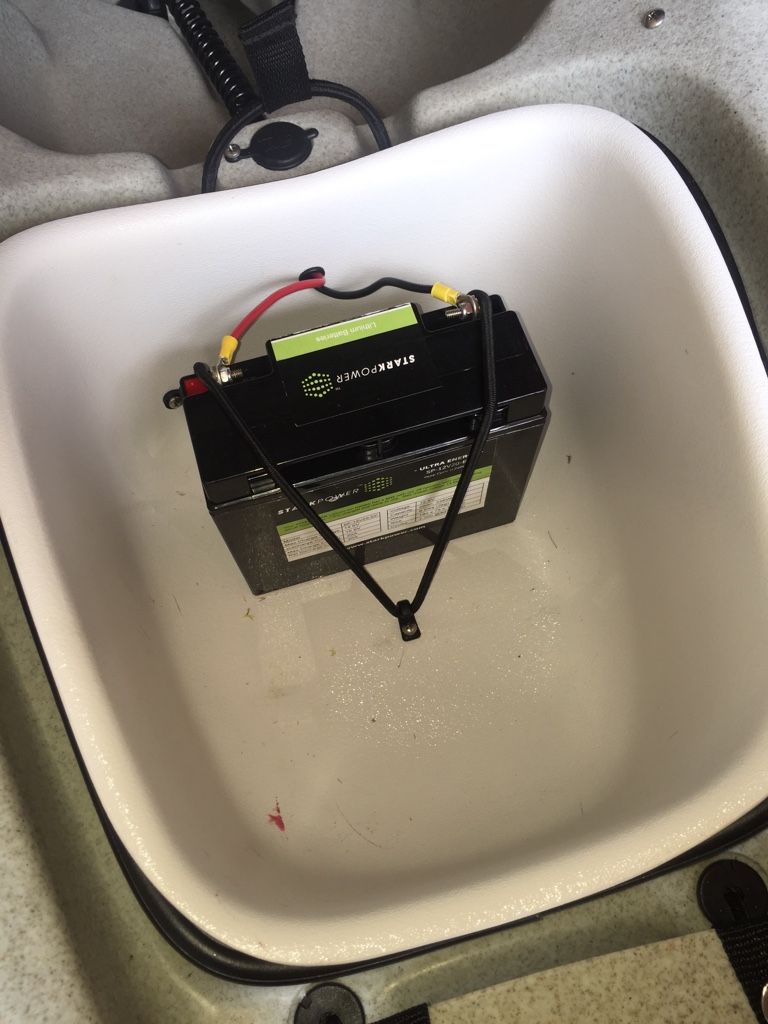
Forward 20ah battery, has quick disconnect on inside of kayak for charging and removal.

https://www.youtube.com/watch?v=sLhL4NO_Y84&feature=youtu.be

Works awesome! The only thing I would change is to move the drain plug to the front of the tank versus the rear so I can reach behind me while sitting to drain if necessary. I also plan to add a lower overflow since this one was mounted a little too high for most applications. All in all probably have about $200 invested, not bad compared to other complete units.


Top
 Profile  
 
 Post subject: Re: DIY Hobie Livewell
PostPosted: Tue Aug 04, 2015 2:28 pm 
Offline
Site Rank - Captain

Joined: Thu Mar 19, 2015 3:17 pm
Posts: 62
Looks great. Where do you put the fish catch that you keep to eat?


Top
 Profile  
 
 Post subject: Re: DIY Hobie Livewell
PostPosted: Tue Aug 04, 2015 3:02 pm 
Offline
Site Rank - Captain

Joined: Wed Aug 14, 2013 5:14 pm
Posts: 54
Don't see any kind of fuse in your electrical work. But you should have some kind of fuse coming of the battery otherwise if there is some kind of short your battery could get hot enough to melt right thru bottom of kayak or even cause a fire. I worked for an alarm company for years and one of our competitors had two trucks catch on fire in one year because the battery's contacted a piece of metal and were shorted out.


Top
 Profile  
 
 Post subject: DIY Hobie Livewell
PostPosted: Tue Aug 04, 2015 6:04 pm 
Offline
Site Rank - Deck Hand

Joined: Tue Aug 04, 2015 7:00 am
Posts: 4
Location: Pasadena, MD
I drilled holes in a deep gear bucket that can set in the live well, with the thought of keeping bait up top and the fish separated below. If they're to big they'll go below deck.

Fuse is at the quick disconnect, just can't see in pictures. But your point is valid and certainly great advise!


Top
 Profile  
 
Display posts from previous:  Sort by  
Post new topic Reply to topic  [ 4 posts ] 

All times are UTC - 8 hours [ DST ]


Who is online

Users browsing this forum: No registered users and 2 guests


You cannot post new topics in this forum
You cannot reply to topics in this forum
You cannot edit your posts in this forum
You cannot delete your posts in this forum

Jump to:  
© Hobie Cat Company. All rights reserved.
Powered by phpBB® Forum Software © phpBB Group