I just installed the kit and would like to pass on a few suggestions, since the instructions are not entirely clear.
Overview: There are several innovative furlers users have created, but has been noted, the Hobie kit offers a couple of nice features. 1. the furling line stays clear of the cockpit so it is out of the way, yet easily accessible. 2. the downhaul is part of the furling sheave, also keeping things simple. As a result, there shouldn't be any tangling or binding.
Installation notes: The most important thing that is a little misleading in the instructions is the mounting of the fairlead. The instructions show it mounting parallel with the cockpit rail. This is incorrect. It needs to angle like this so the furling lines are separated coming down the side of the cockpit:
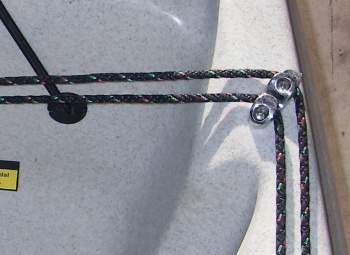
I tried to split the angle
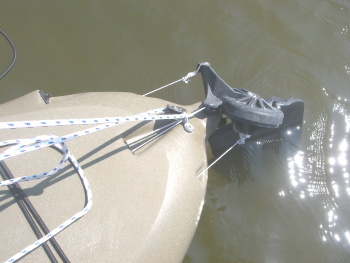
Height of the furler is not discussed in the instructions, but is important. It should be mounted in as much of a horizontal plane as possible with the fairlead. If it is too high, the furler can bind. Each hull is different. On the Revo 11 for example, the lowest location available is right on top of the front hatch. It is still a little higher than I would like, but works without issue. While this interferes with the opening of the front hatch at this location, it's not a big deal since you don't usually need access to the front hatch while sailing. Just remember to keep it as horizontal (usually low) as possible. This should not be an issue with the concave bows (ex: Outback, etc.) Here's a pic showing the Revo 11 installation:
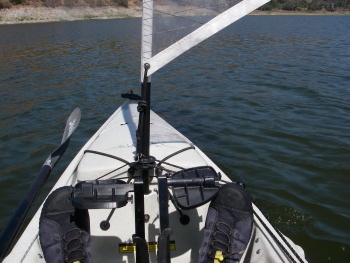
Sorry the pedals are in the way, but hopefully you get the idea. The furler lines angle off to the right and the mast retainer angles down to the left.
The mast retainer's function is to prevent the loss of the mast in the event of capsize. Without it attached, the mast assembly can drop out since the downhaul is no longer attached to the boat. This moves independently of the mast and furler, so it is important that 1. you don't over tension it so as to cause binding and 2. you don't want too much slack so that it falls off in normal use. The instructions suggest that you mount it on the forward bulkhead, but you can mount it anywhere as long as it doesn't foul the furler.
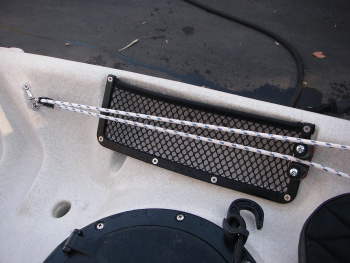
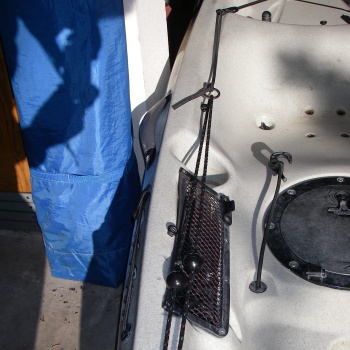
The kit supplies a padeye to anchor the furler tension bungee aft of the cockpit. This may not be necessary. I simply hooked it into the existing cargo well padeye along with the existing bungee -- works great. Try it before you drill, to see if you need to. Here is a pic looking aft showing the cargo well padeye doing double duty:
Those are the most important things IMO regarding installation. Remember each hull is different, so lay everything out and try it before you drill!
Looking forward to RPL's review!