Crossbar progress...
This portion of the construction ate up an enormous amount of time due to the number of bits and pieces that need to fit together correctly in order to ensure a solid, square catamaran once completed.
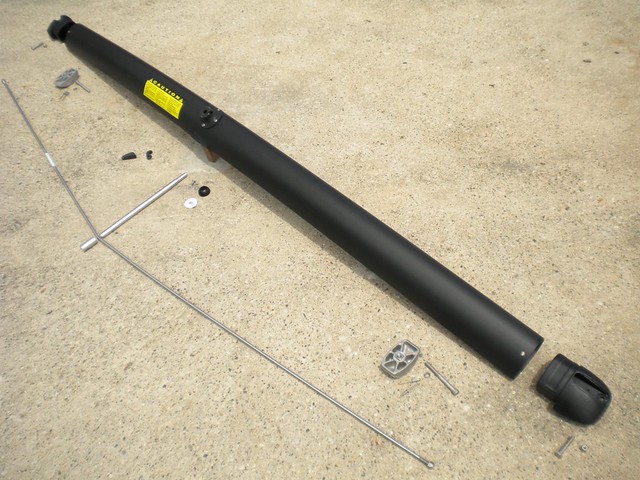
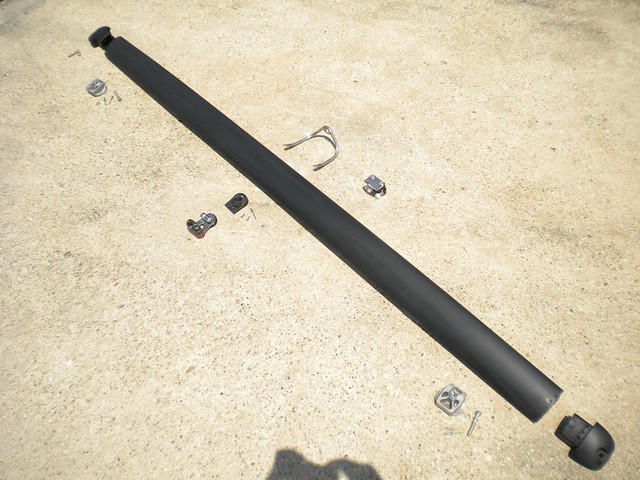
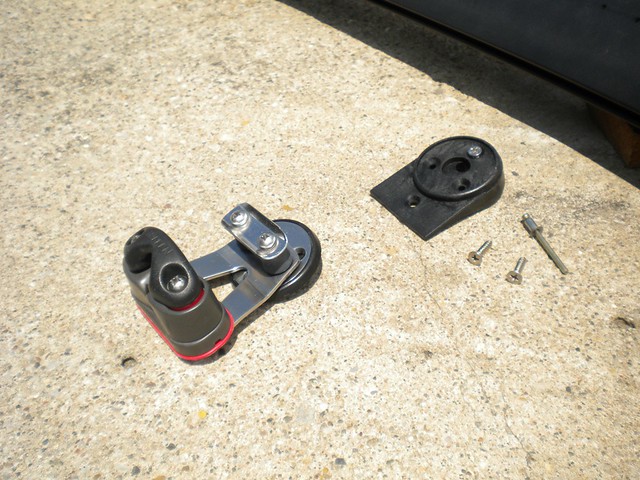
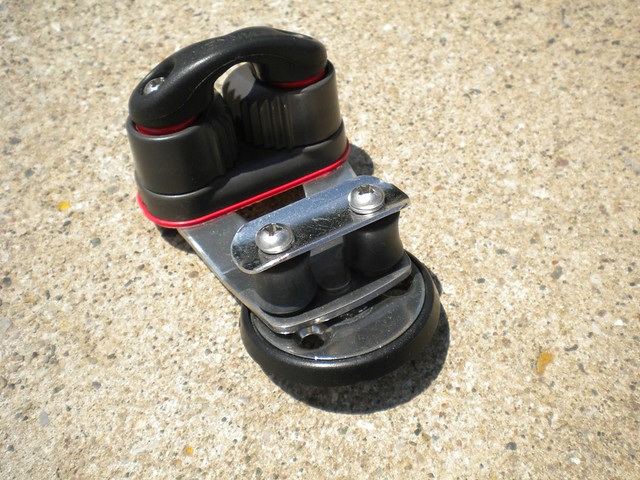
Here is the front crossbar...in individual parts:
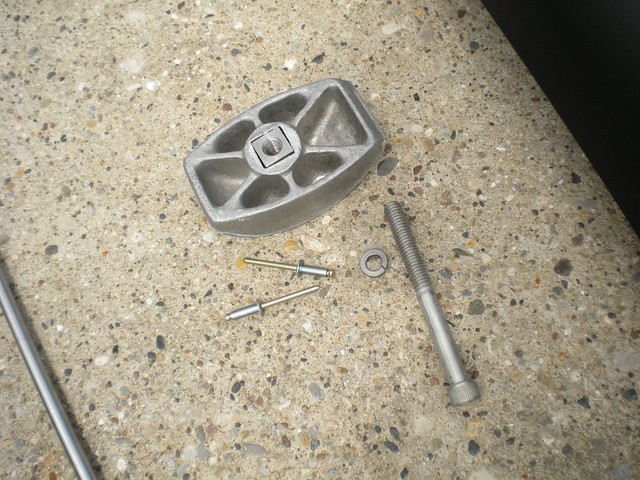
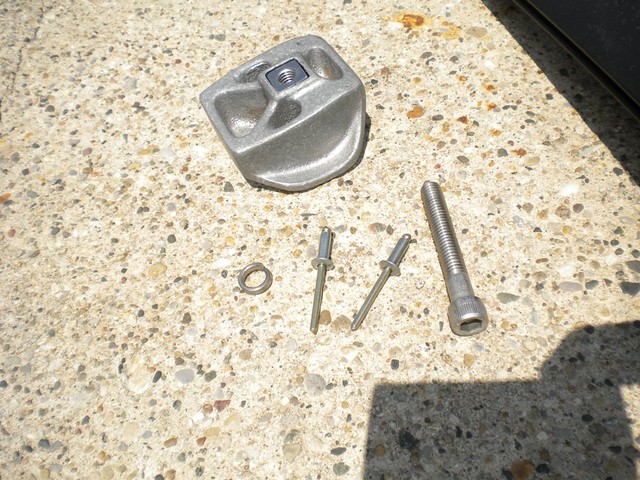
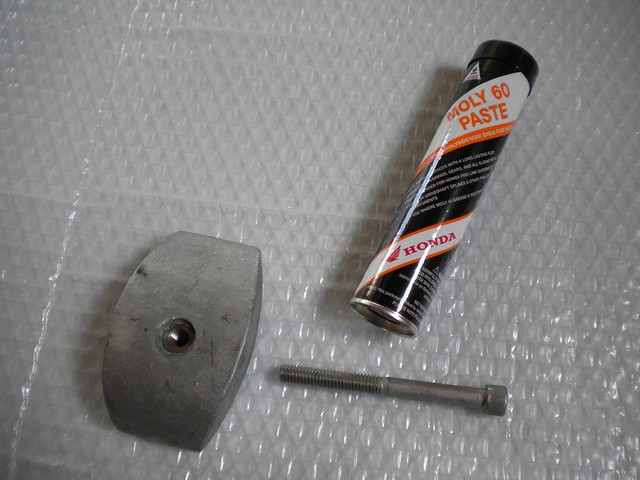
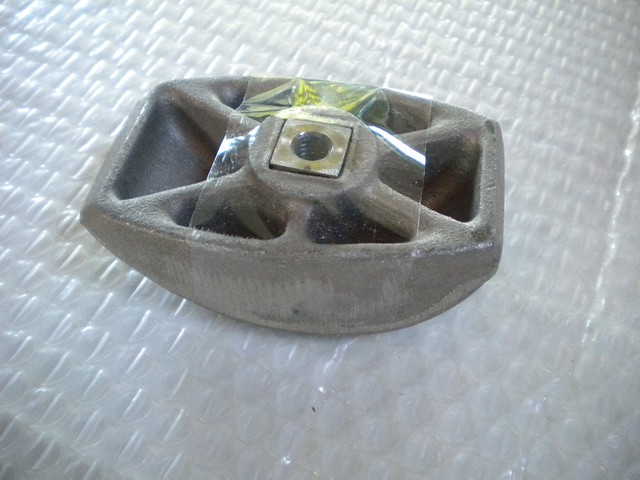
Internal casting. This is what each inboard crossbar bolt threads up into. It is an aluminum casting with a threaded stainless steel insert. Boats older than the mid 1980's have a slightly different insert (essentially a nylock nut) that has roughly half the thread engagement.
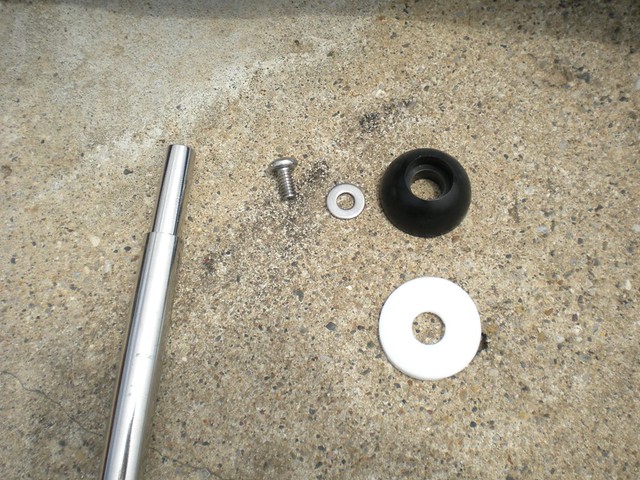
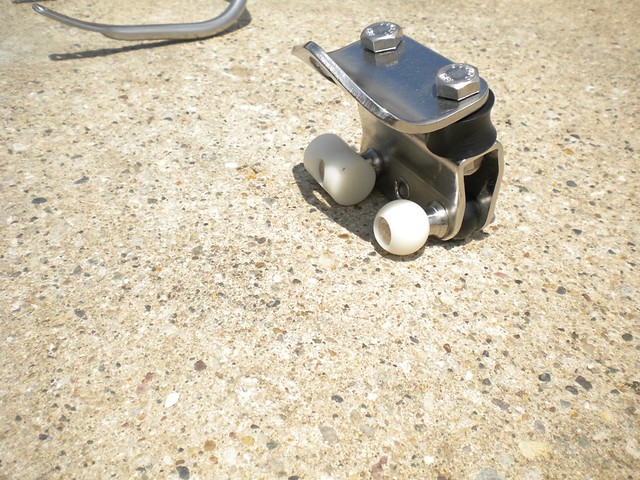
Striker post componants. I am using an additional teflon disc (the white 'washer') under the black mast bearing to reduce / eliminate mast squeak.
I am going to look into doing a top-mounted crossbar cleat assembly for the roller furling line. The standard Hobie 18 style isn't very user friendly. A swivel cam cleat would be perfect, but I couldn't find any that were truly low profile enough. Even a Lance cleat looks like it would be happy to remove some skin in the event of a pitchpole, so I am tentatively going forward with a micro-sized Ronstan cleat with a matching-sized Harken fairlead. Likely won't locate or install these until the final rigging process when the mast is up, in order to assess angles of the furling line and therefore correct placement of the cleat and fairlead.
Rear crossbar...
Rear internal castings. These are unique to the rear due to the differing front and rear crossbar extrusions.
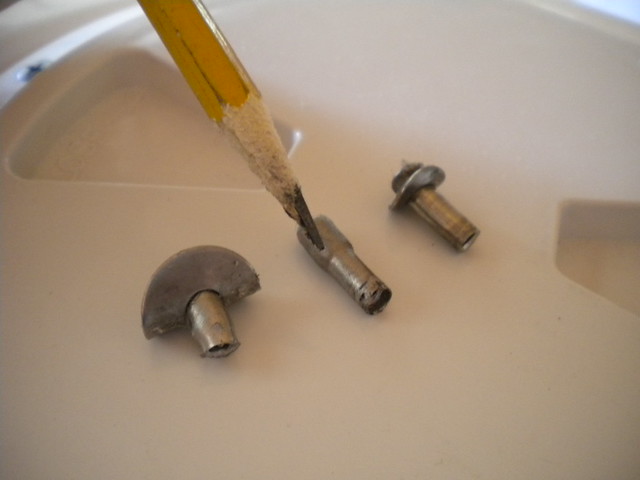
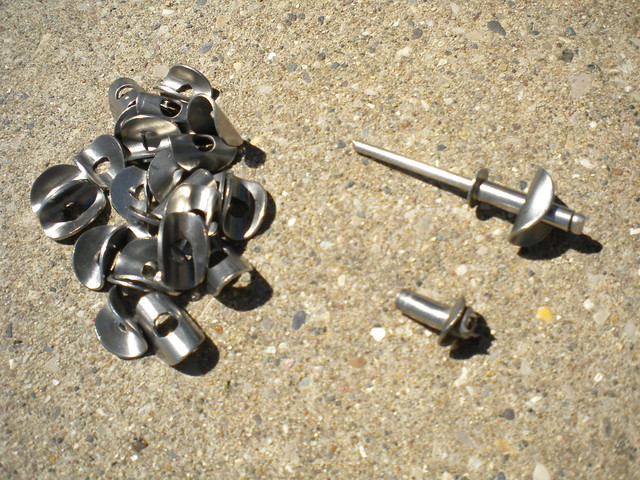
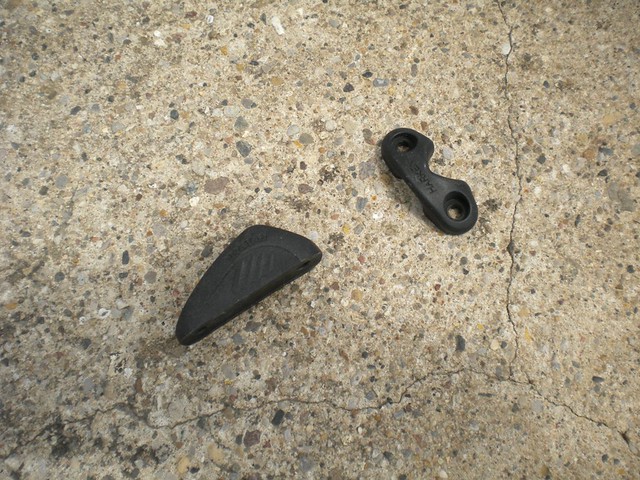
The standard traveler comes equipped from Hobie with two 'slugs', but many people including myself prefer the 'one ball, one slug' combination. I had a couple new sets laying around so I upgraded the traveler as shown. I don't believe that Hobie offers the ball option any longer, although they may still be available on the aftermarket.
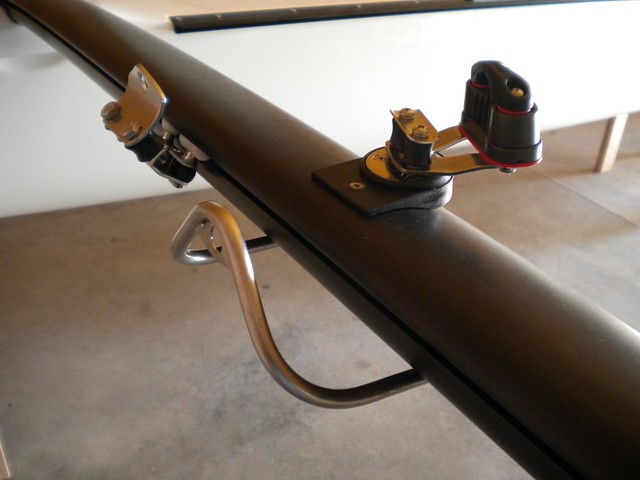
Traveler cleat assembly, all Harken. The Cammatic is upgraded to the aluminum style, which seem to have better life and grip on newer high-tech lines.
I added the Hobie Roller Fairlead Kit #50012 which is a nice feature and does noticably reduce line friction when adjusting the traveler.
Before beginning crossbar assembly, I used the best anti-seize I had on the threads of the internal castings to protect from galling during assembly. I have also used lithium bearing grease before, but this stuff works much better, and has a higher viscosity than comercially branded anti-seize products.
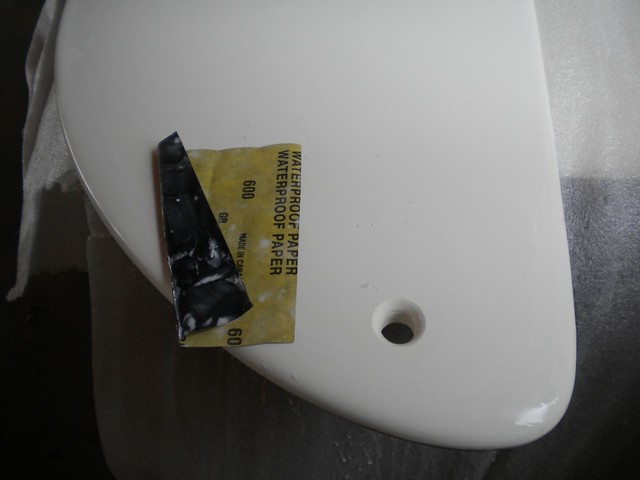
In addition to this, I placed a piece of packing tape over the top of each casting to keep dust and dirt out. Might aid in disassembly in the future if ever needed.
All crossbar assembling was done on a large piece of closed-cell packing foam. Really protects the parts from nicks and scratches during handling. Used a dead-blow hammer for seating the end caps to prevent marring the castings.


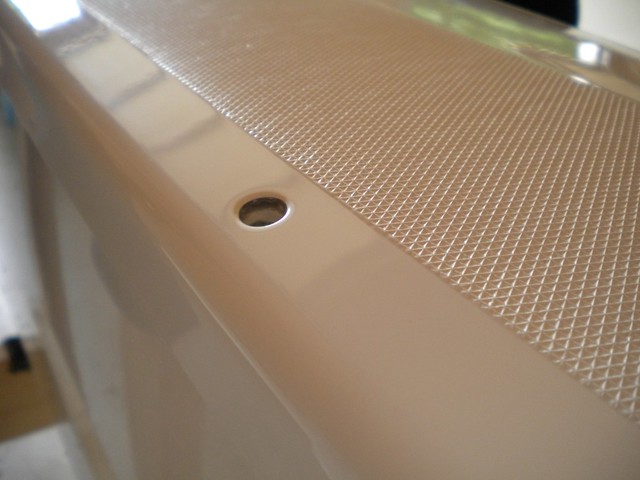
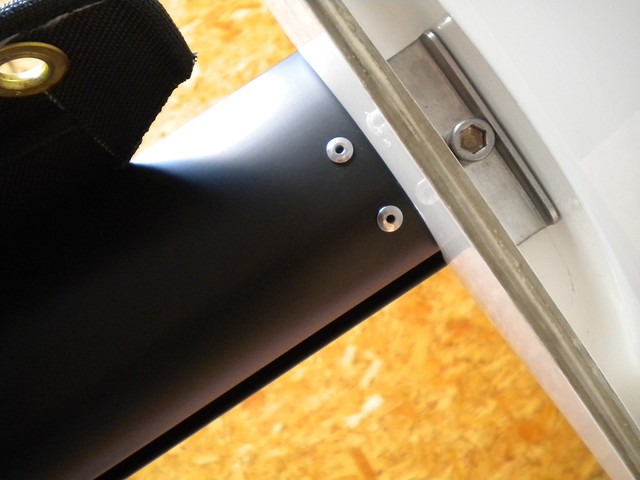
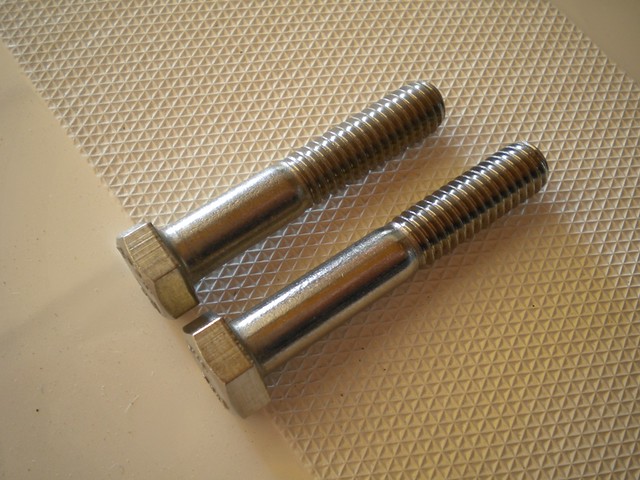
There was an unexpected amount of fitting required in order to mate the crossbars to the hulls, due to the hulls being manufactured with very thick deck lips, the thickest I have ever seen. Might be good for hull longevity, but ate up a lot of time and even required sourcing outboard bolts with longer threads due to the additional thickness.
Outboard view:
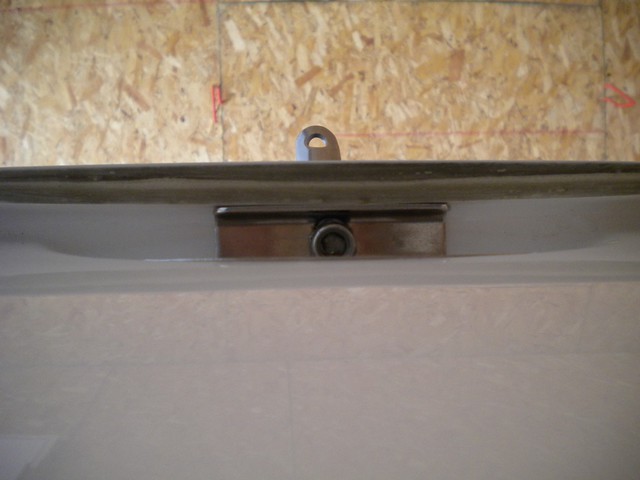
Inboard view. Very tight even to fit a c-channel in here...
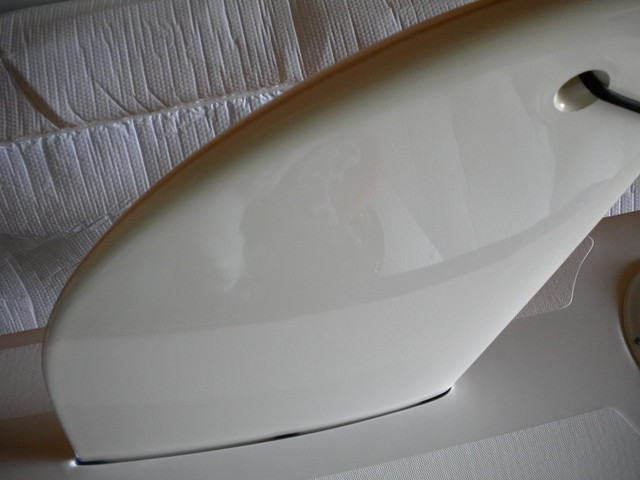
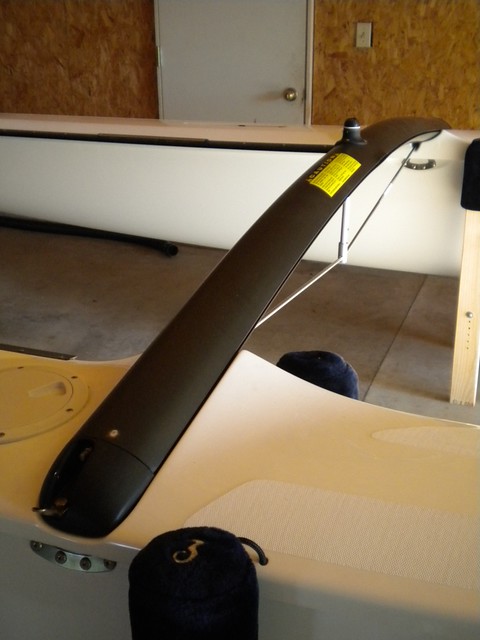
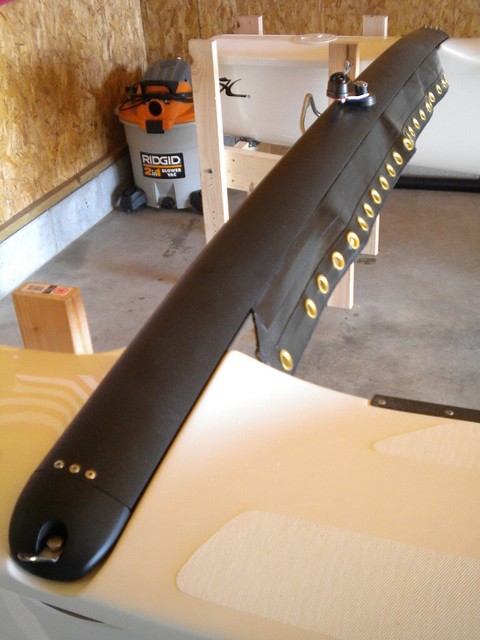
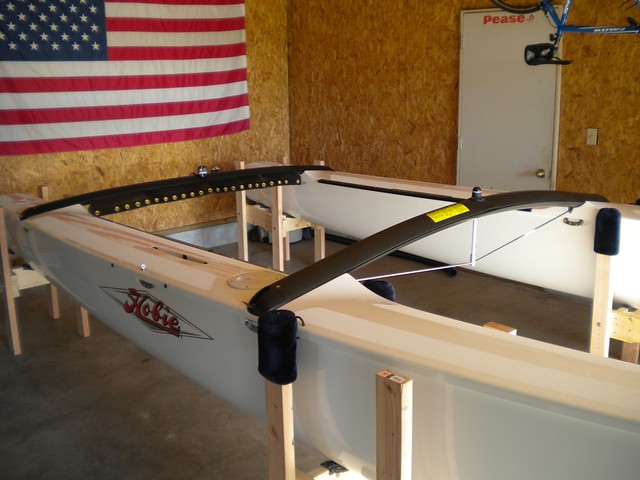
Front crossbar, loosely fitted:
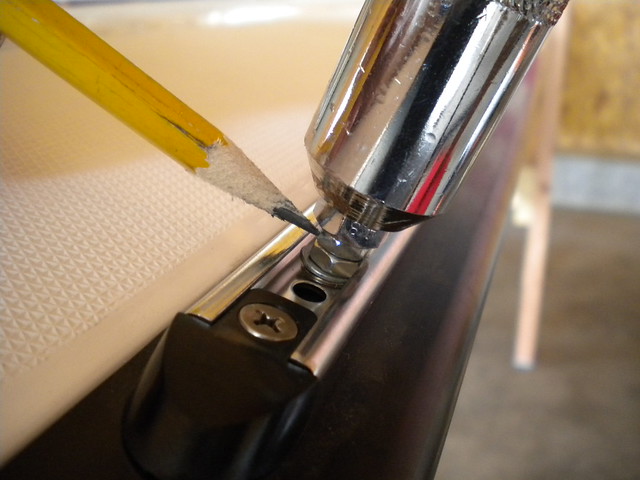
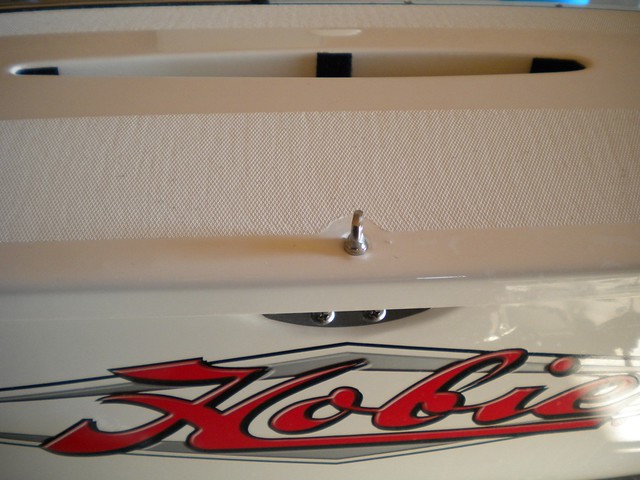
Not possible to actually see it in this photo, but I added two small stainless spacer washers underneath the stainless 'capture' washer in this assembly, ensuring that I could snug the stainless screw yet still have a free-spinning mast bearing. This is one of the few places that I also use Lock-tite, since this is a fairly important piece of the rigging. For reference purposes, this is what the 'new style' 4-rivet mast bases are...wider with more surface area in contact with the crossbar and 4 rivet fasteners from the factory.

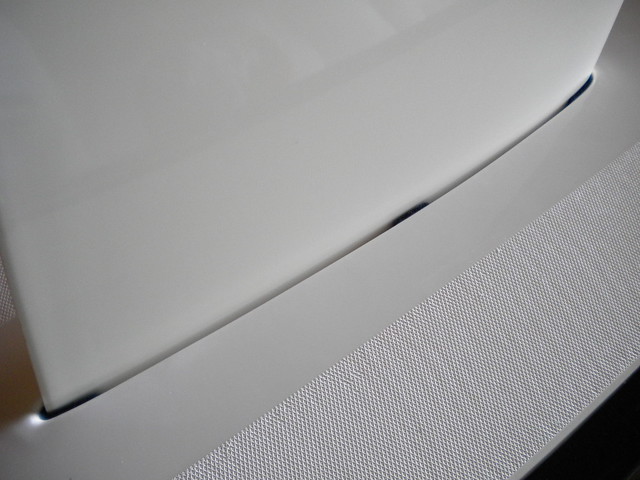
Rear crossbar...I went ahead and slipped the rear lacing strip into place before seating the second end cap...much easier job at that point!
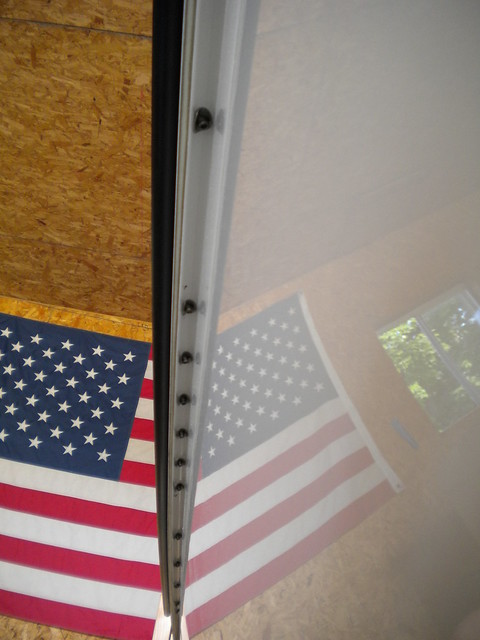
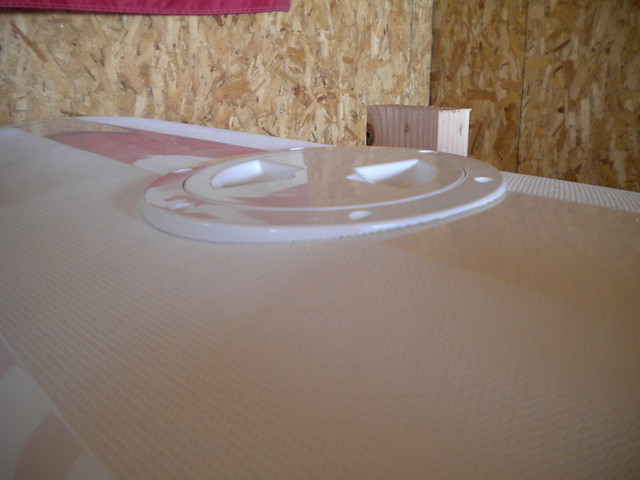
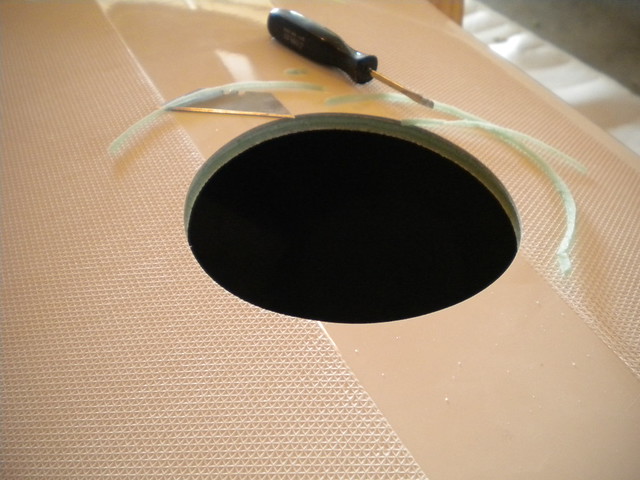
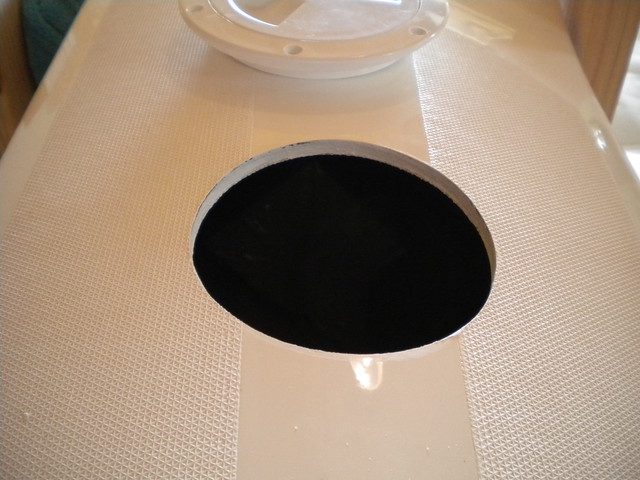
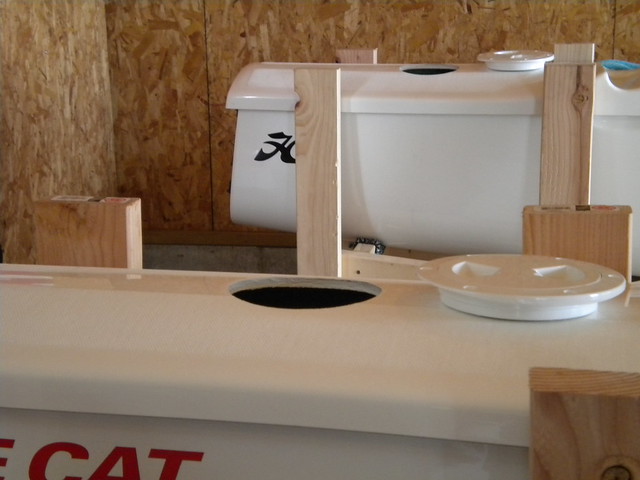
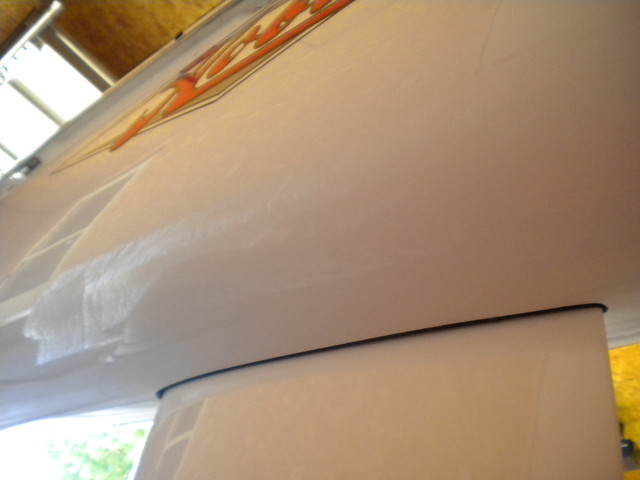
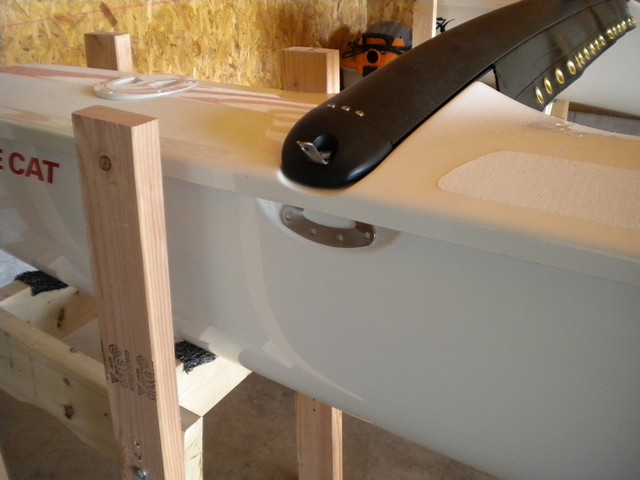
Close up. Wing tab for upcoming wing installation visible. Still need to finish installation of the shroud anchor plates (not bolted to the hulls yet) and then seat the rear deck ports.
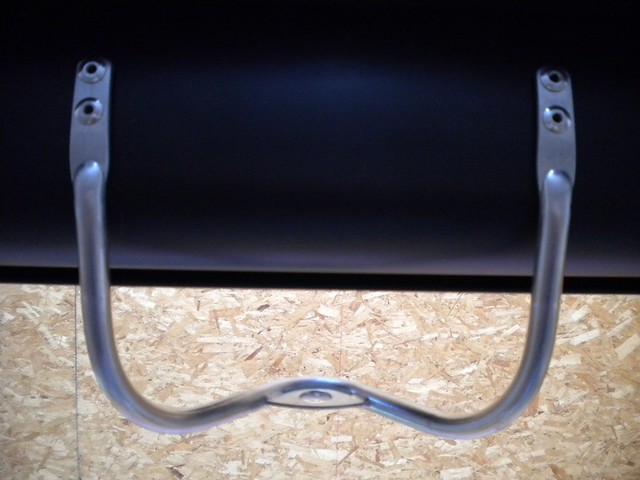
Traveler tie - off:
Starting to look like a rear crossbar:
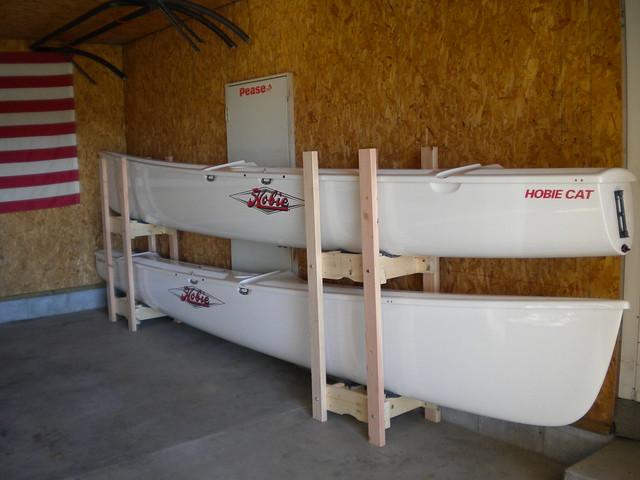
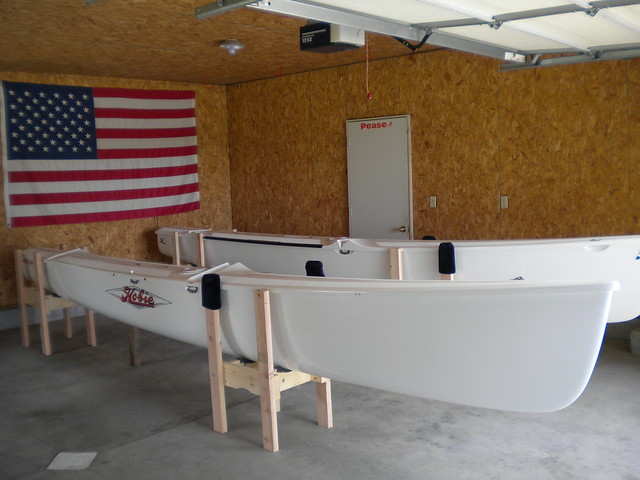
Crossbars loosely fitted. Will square up the hulls and tighten these down next, before beginning the trampoline install.
Done working on the computer now, back to the boat...