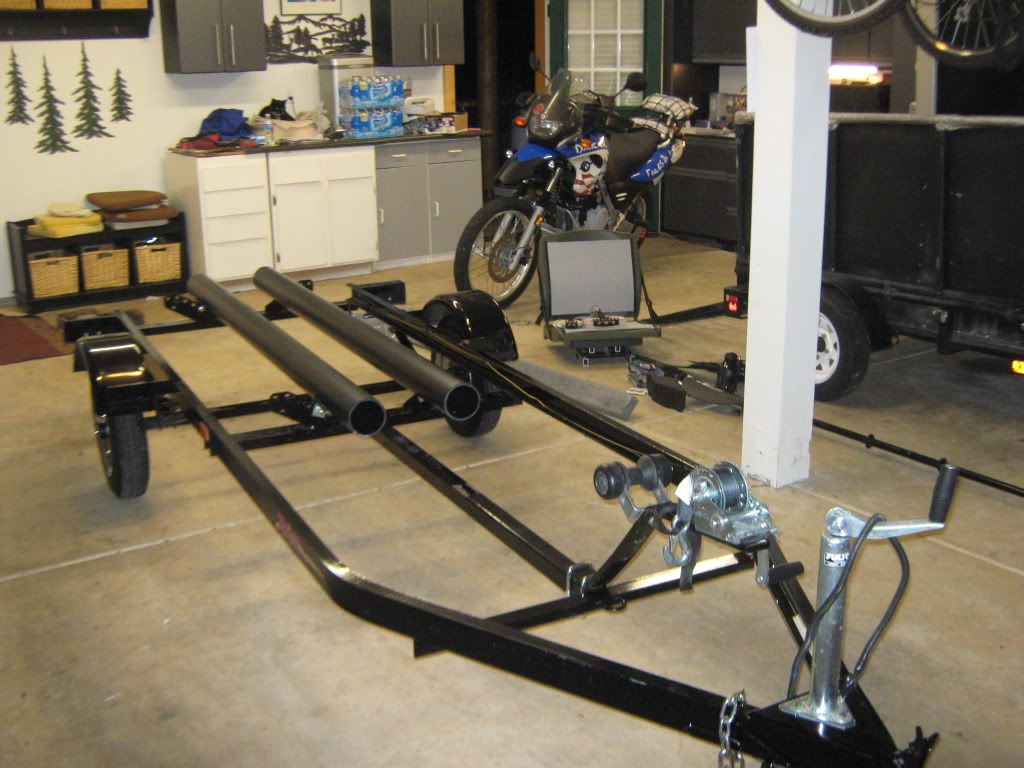
Hi, I’m Jerry and I’m new to the whole kayak thing. I decided to get a PA to use for fishing and hunting. After research, I figured my best route was to build a trailer for it. I have read several threads on trailers for my Pro Angler and decided that would start with a single jet ski / PWC trailer and add the plastic pipe for bunks. On craigslist I found several and negotiated a price of $300 for the one you see here. It was stored indoors and in near perfect shape. The owner had decided to get a second PWC so his girlfriend would have one and was looking to get a dual trailer. Trailer home, the work begins;
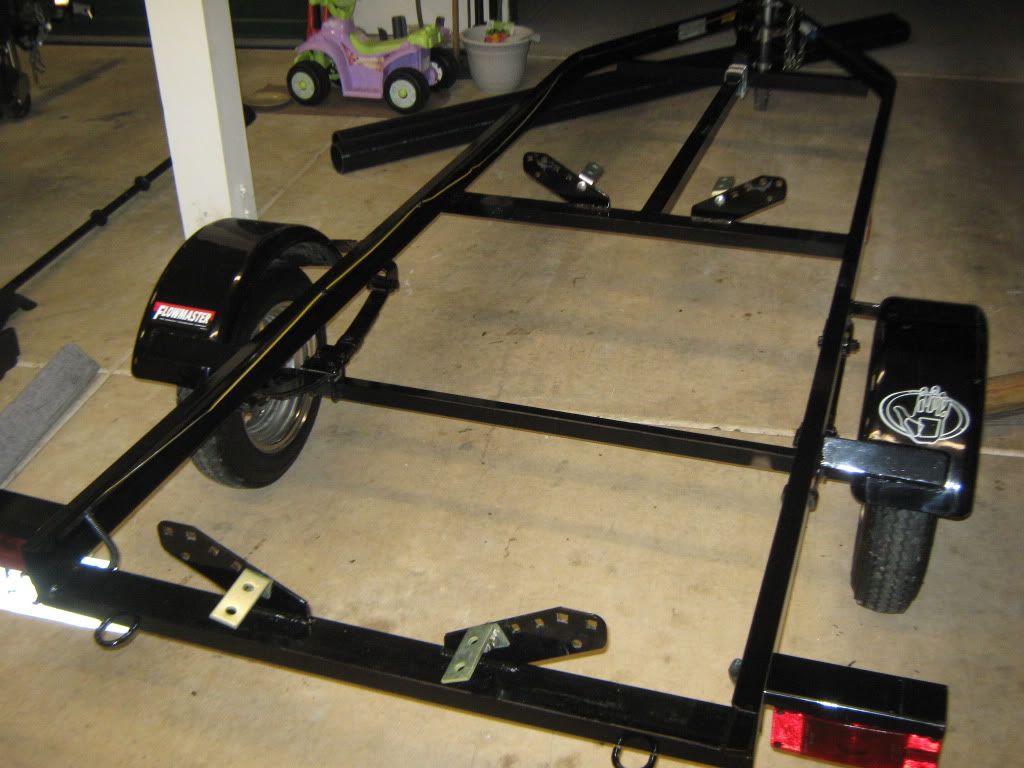
Removed the bunks off the trailer, those 2x6 carpet covered boards the PWC rested on.
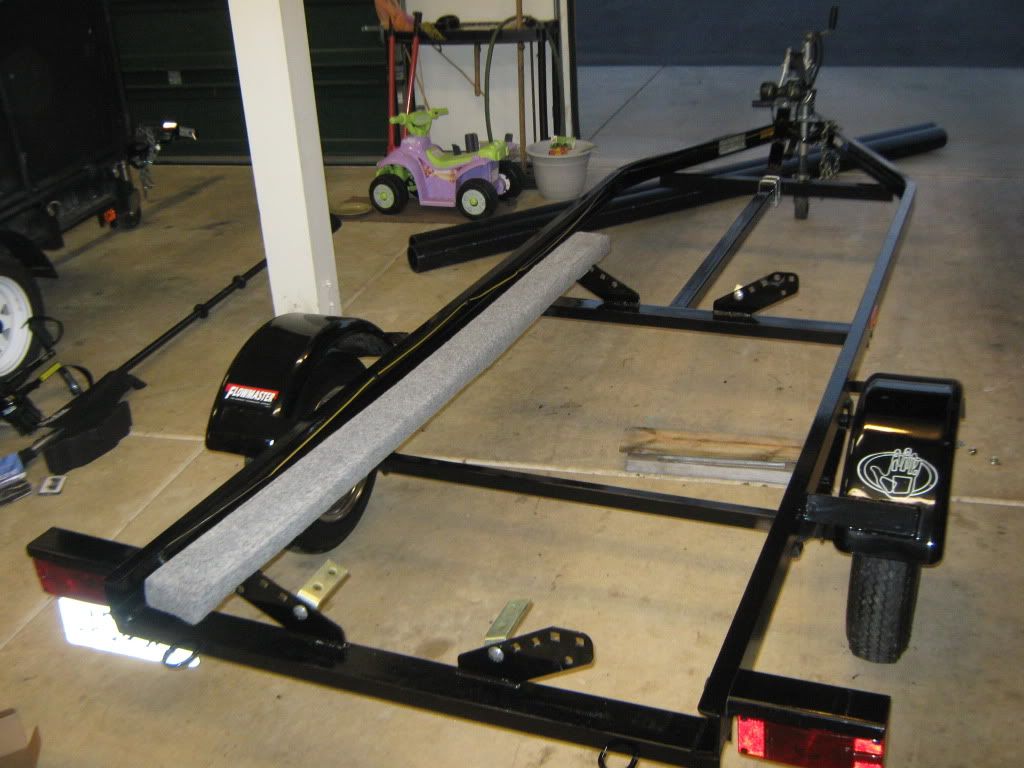

Next I started to mount the hardware that would hold the pipe bunks. This hardware is from a salvage shop near where I live that contractors use. It’s called “Uni-Strut”. I’ve seen some trailers on here that use it to build a frame over their kayak trailer to hold a storage box;
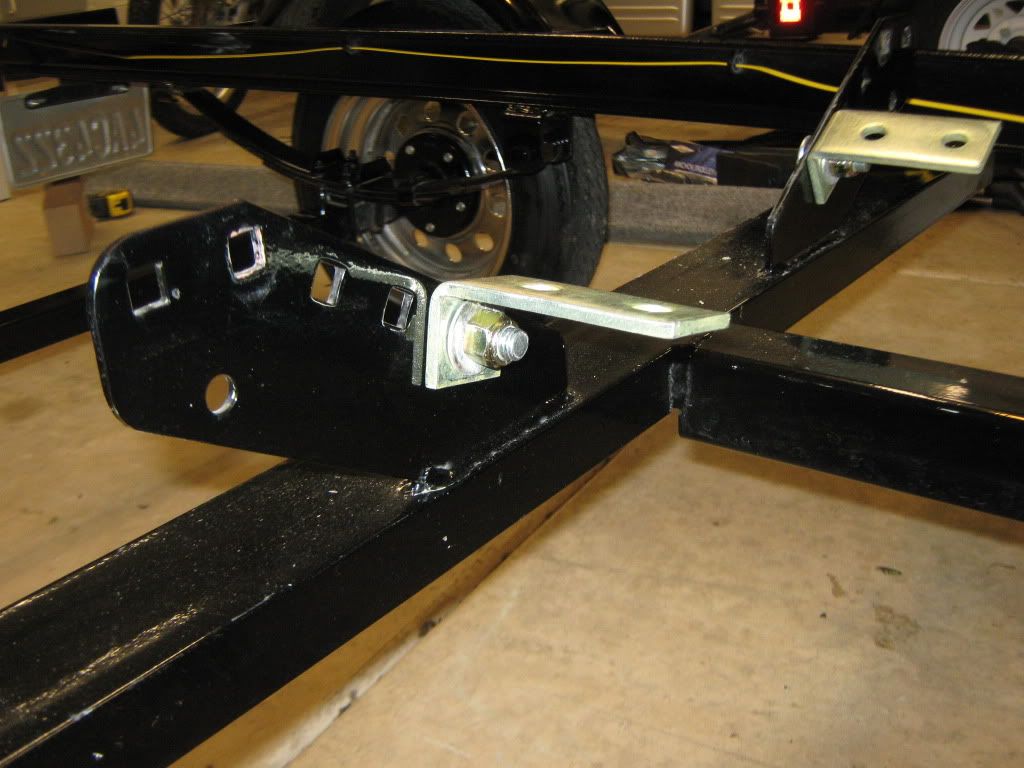
The uni-strut has a goldish plating like anodize but it’s steel. I also used lock nuts.
All four brackets are now mounted, but not tightened. The brackets can rotate and that adjusts the spacing between the bunks.
I cut the first tube to a length that allowed less than an inch overlap at the rear, and a foot in the front. Then I marked the second tube and cut it too. I used a sawsall with a hacksaw blade on it.
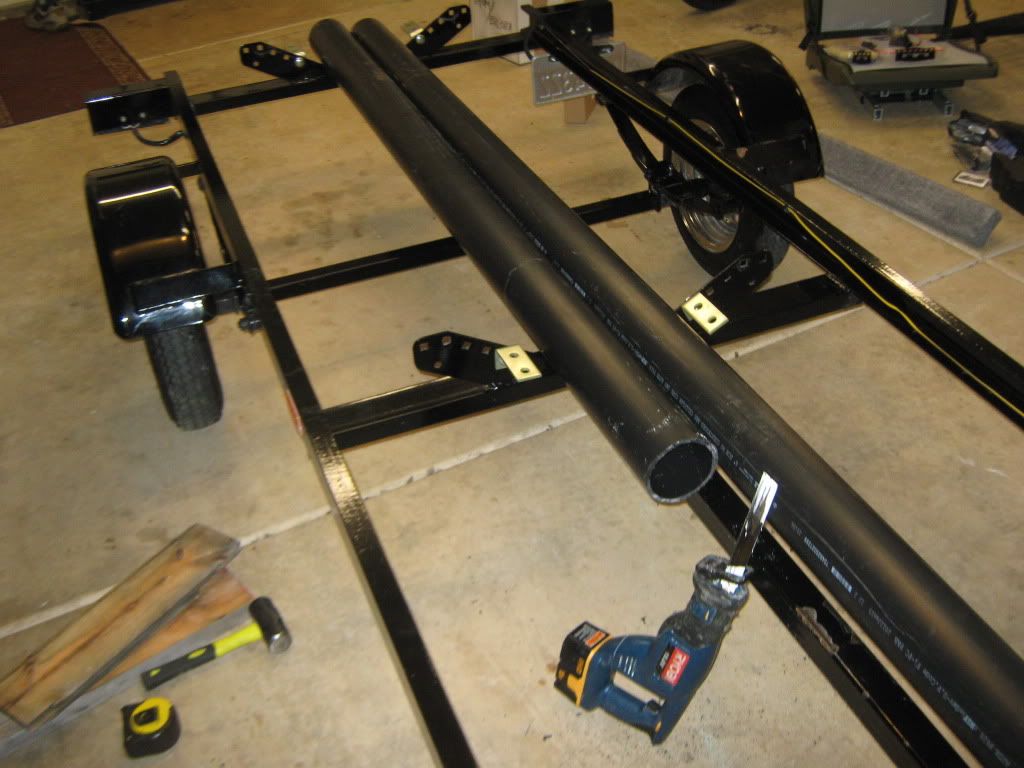
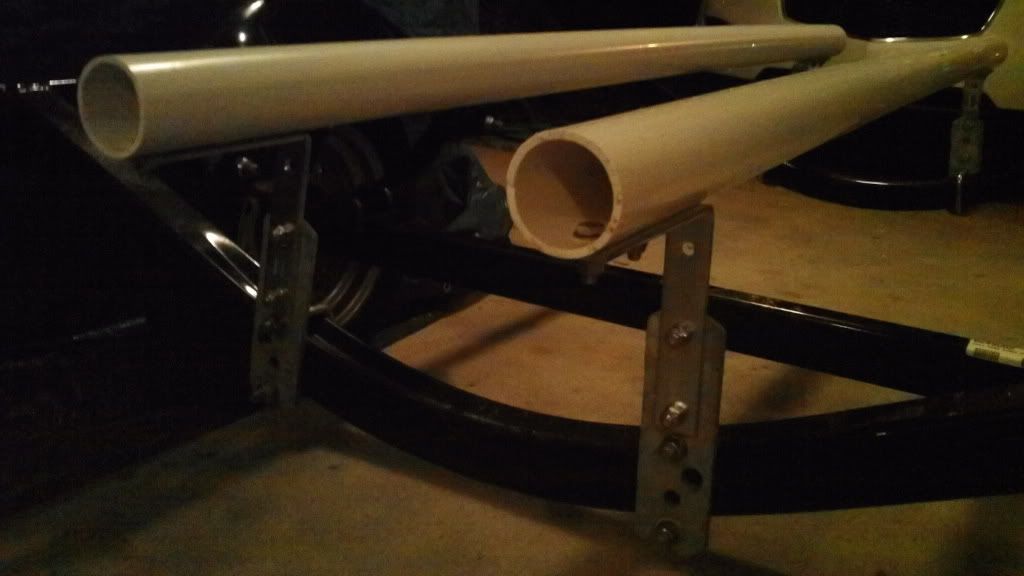
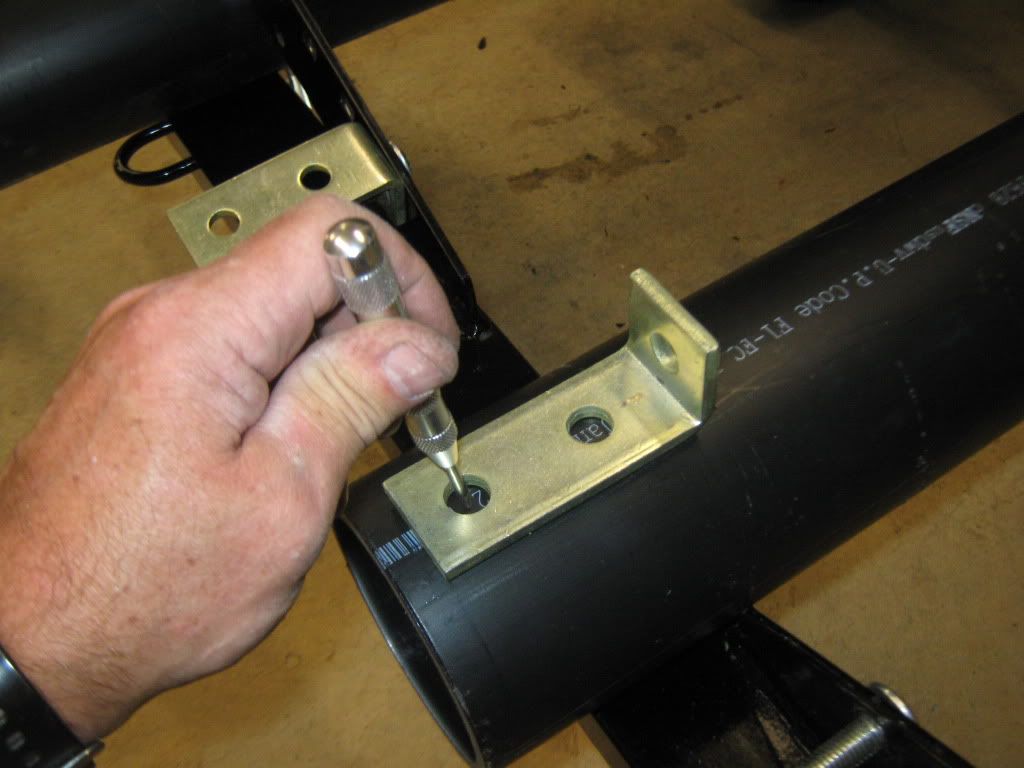
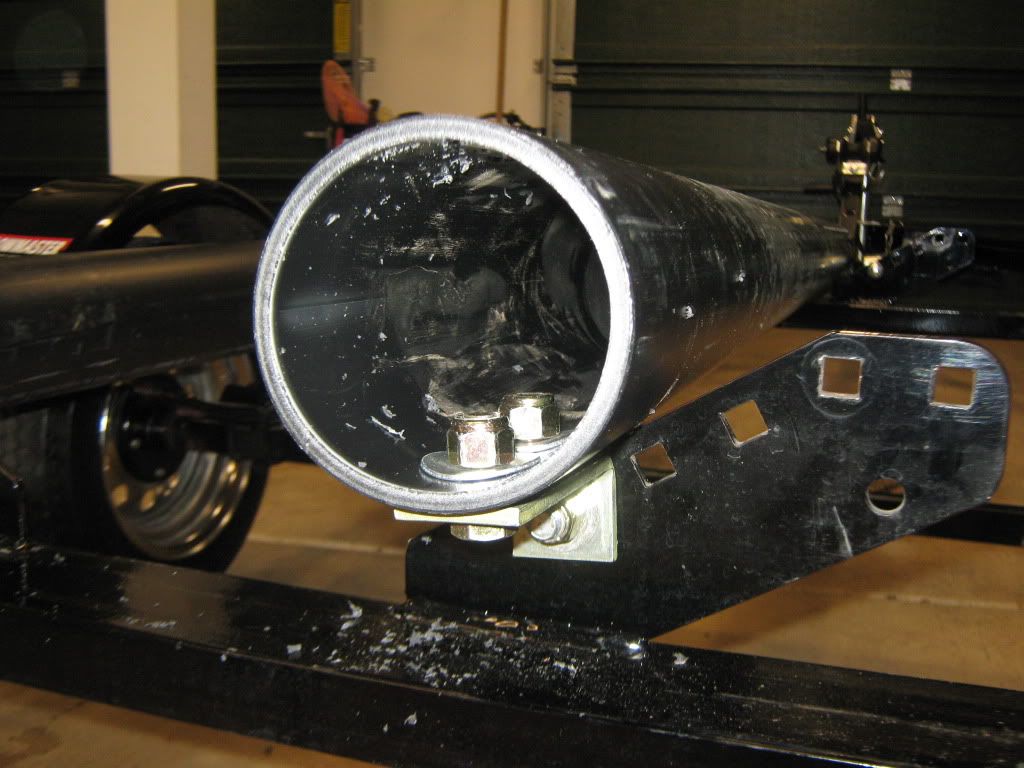
One at a time, I took off the bracket and marked, then drilled the holes. I rotated the tube so the holes would be in the lettering. That way I knew exactly were on the far end to mark length-wise. I also oval out the holes length wise so that when the PA is on the trailer, the bunks and sag under the load and wrap the bottom. If I hadn’t, they would not have flexed as easy.
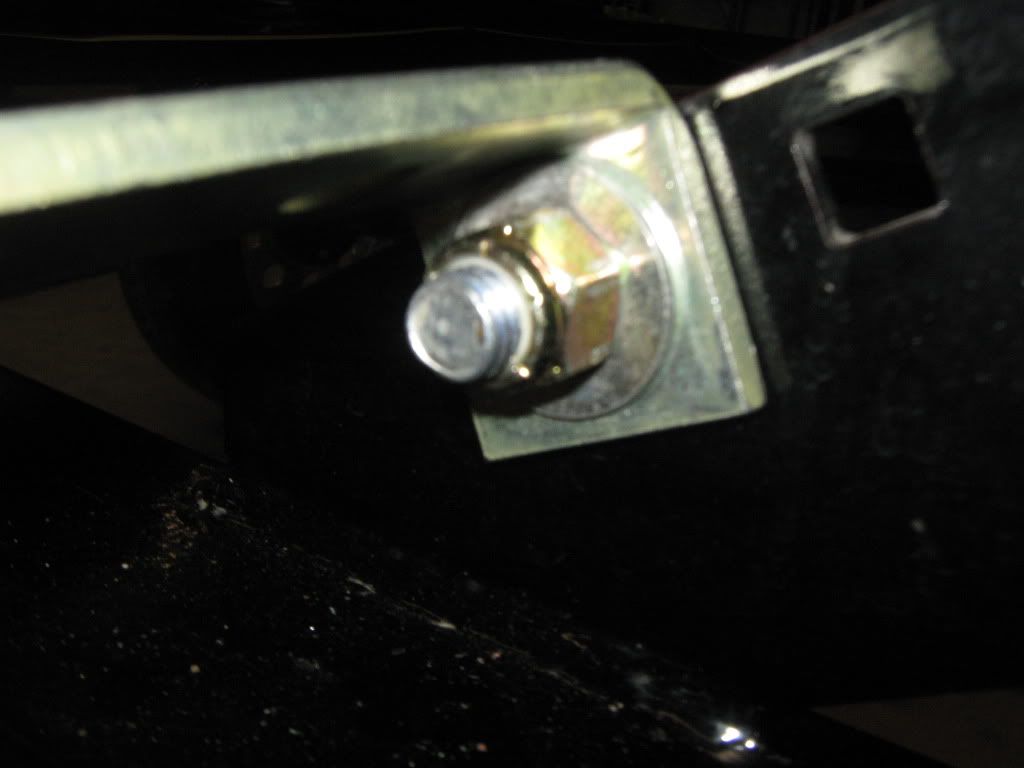
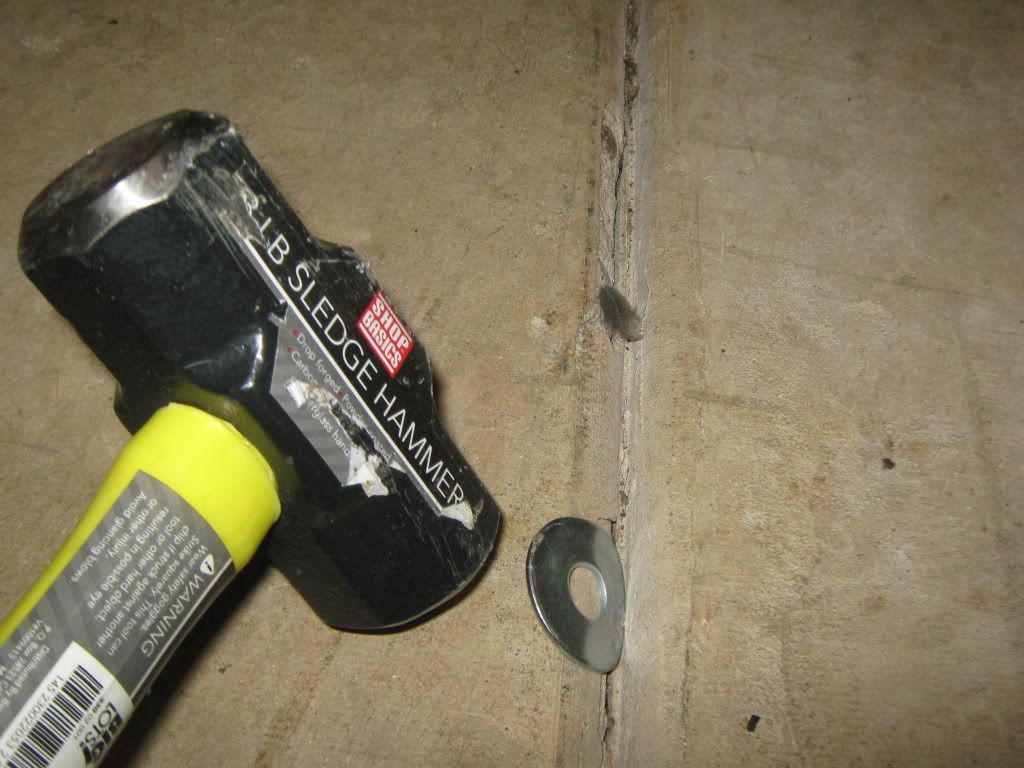
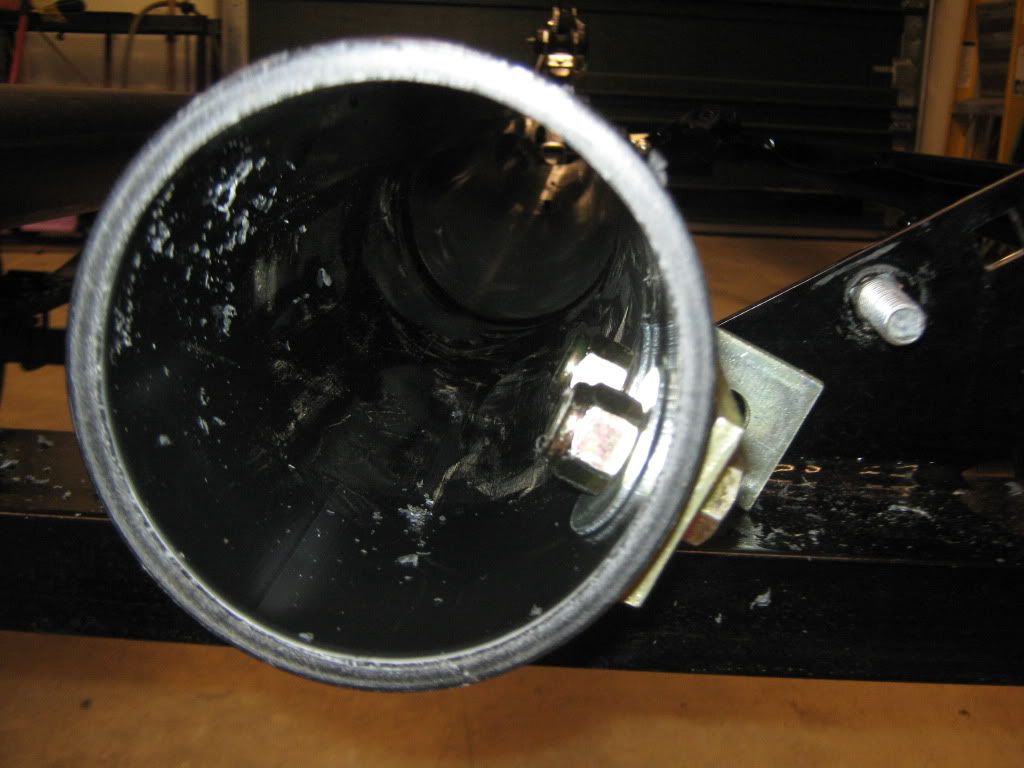
I pre bent the washers so they wouldn’t crush the plastic tube. I won’t be tightening the fasteners, just snugging them so the bunks can float on the oval holes I drilled.
Installed washers only snug tightened lock nuts.
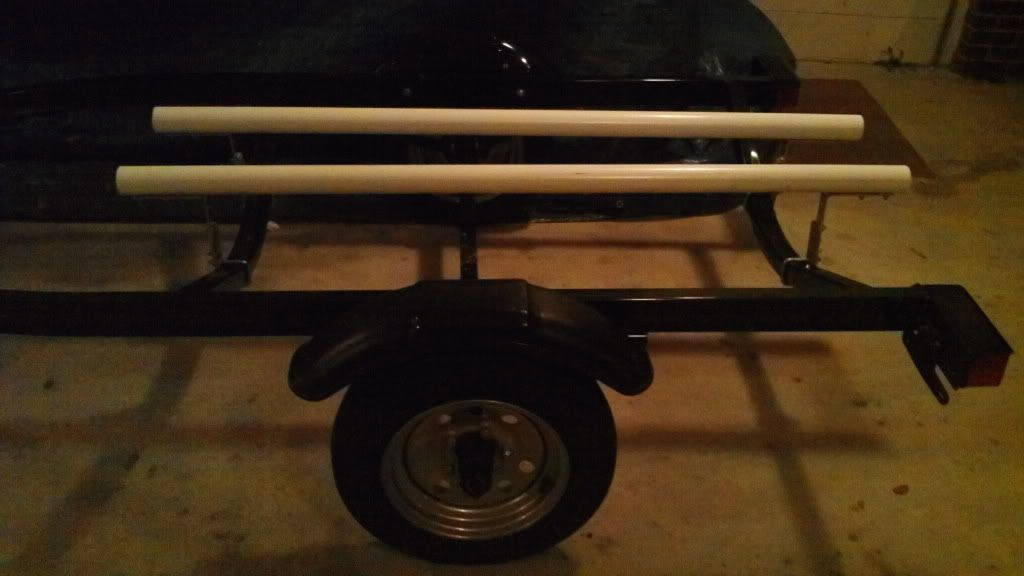
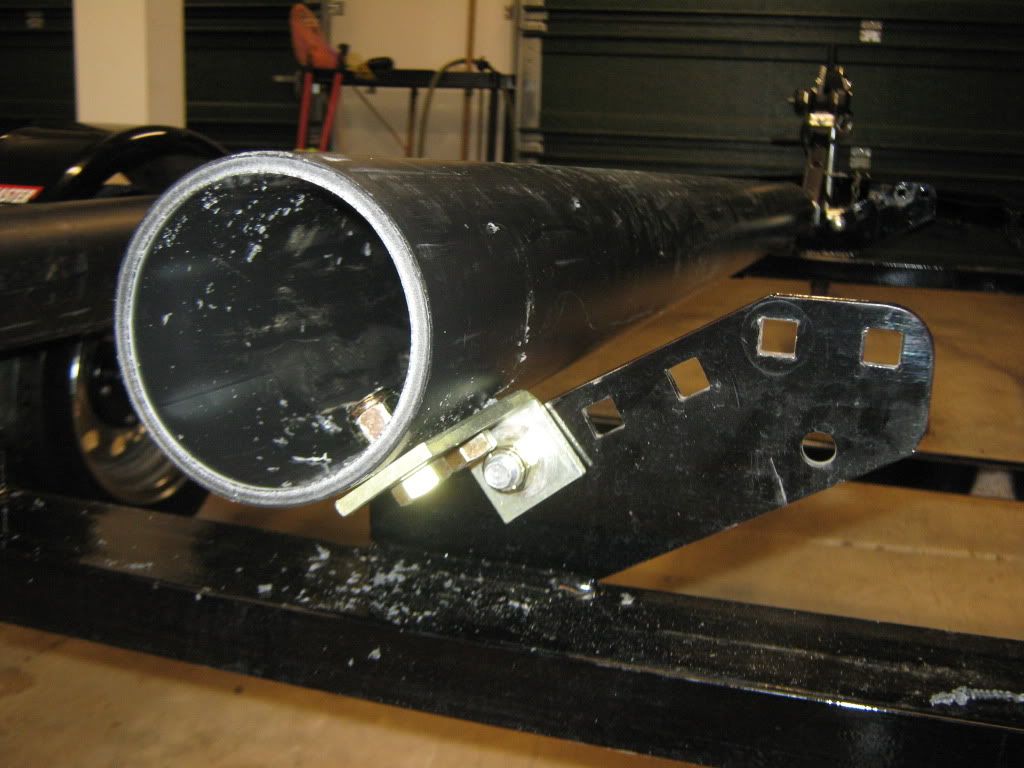
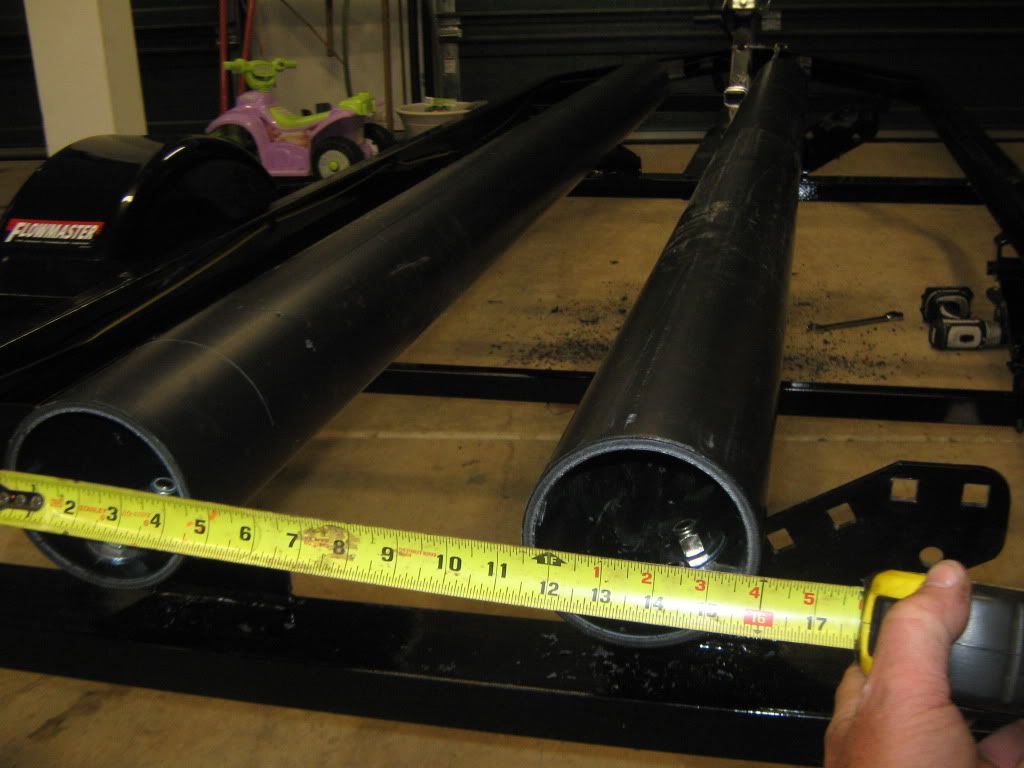
With all four ends mounted, I can now adjust my bunks. Here’s a series of photos showing the range and my final measurements. Outside to outside on 4” tubes is 16” and center to center is 11 ¼”. The center to center should be good for any size tube you use. A smaller diameter than 4” could be used on the tube, but I chose it due to the unsupported span I had; 5 feet. I’ve seen on line here, trailers with 2” tubes but there was a support mid span.
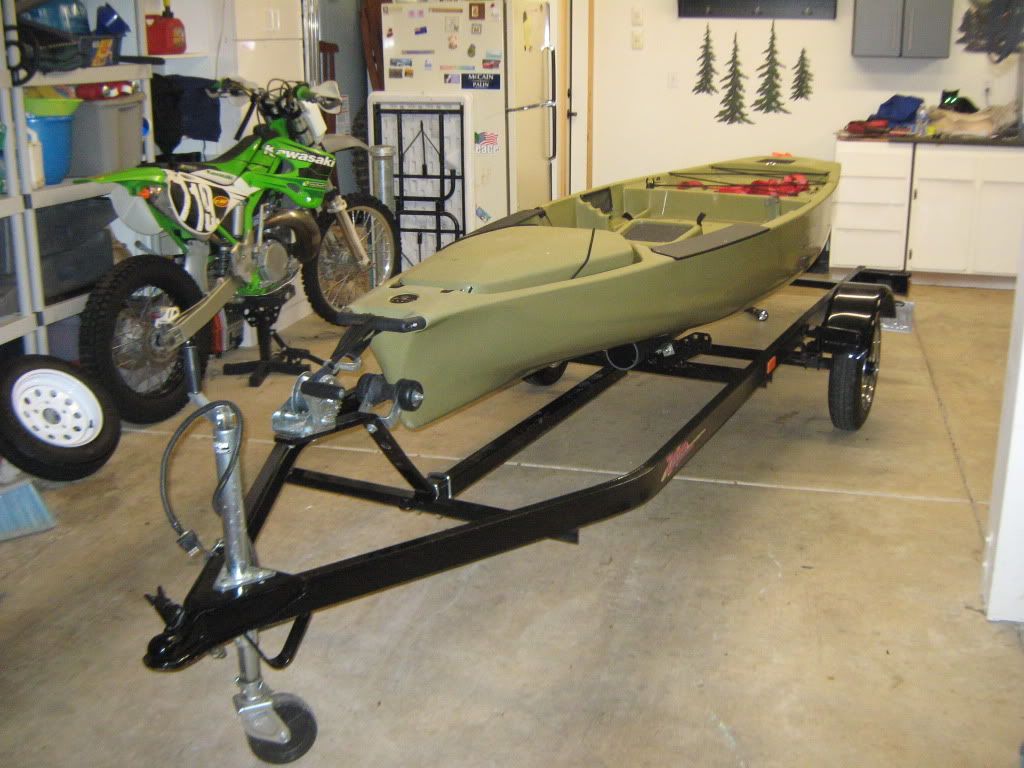
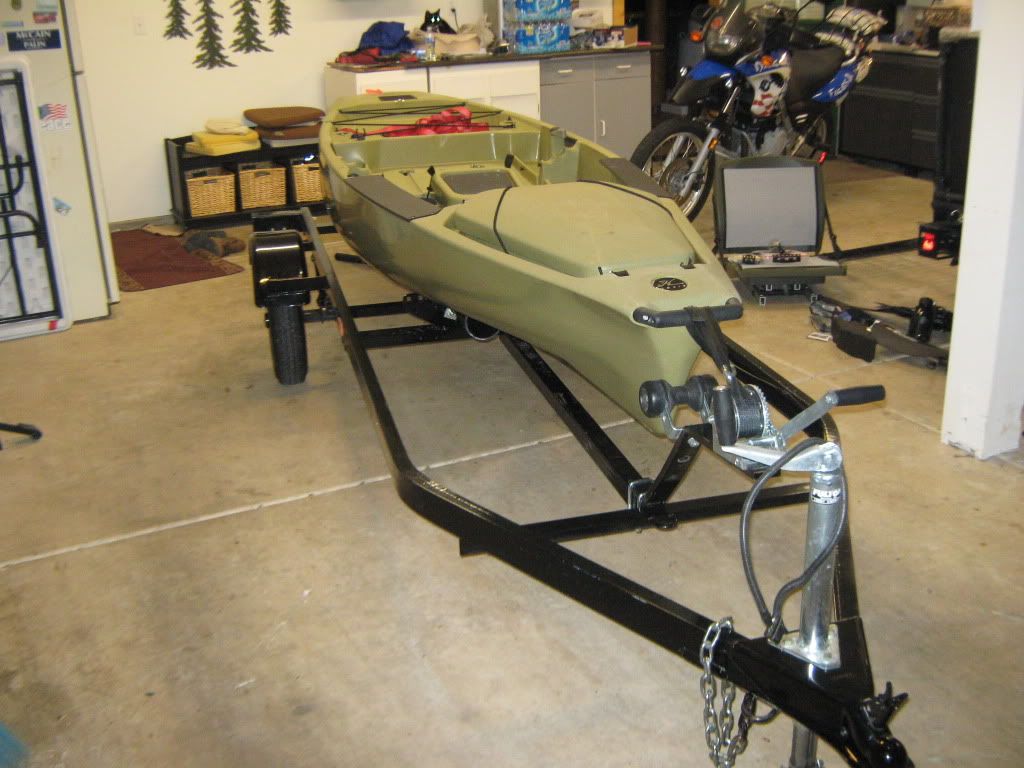
Final product!!
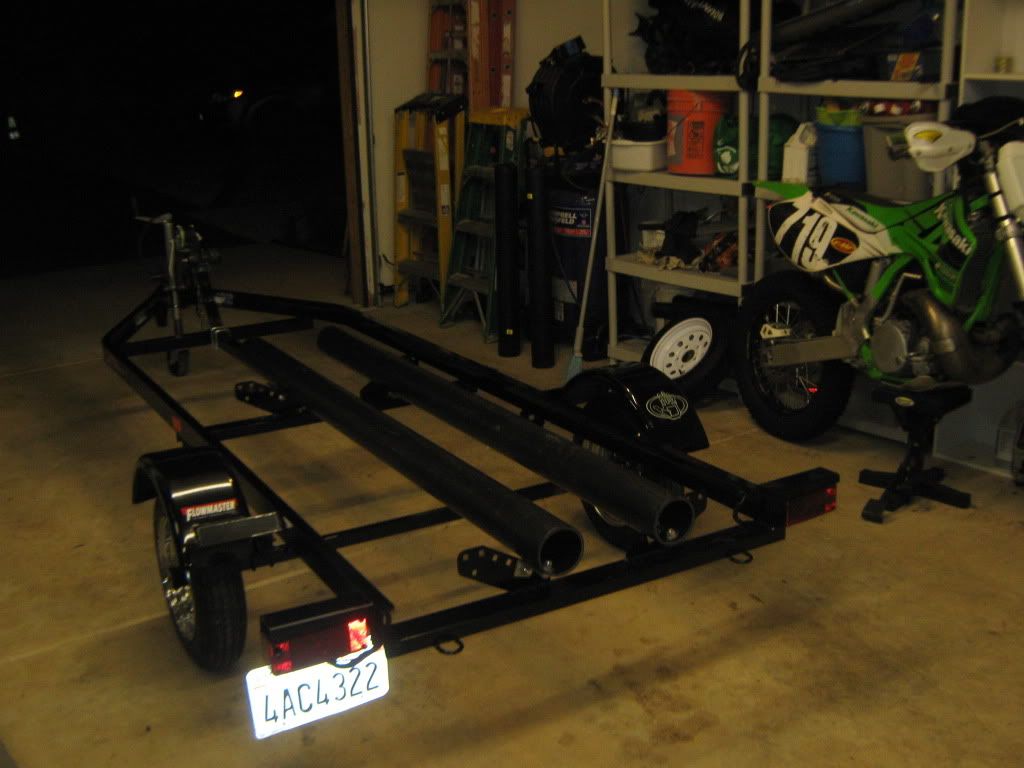
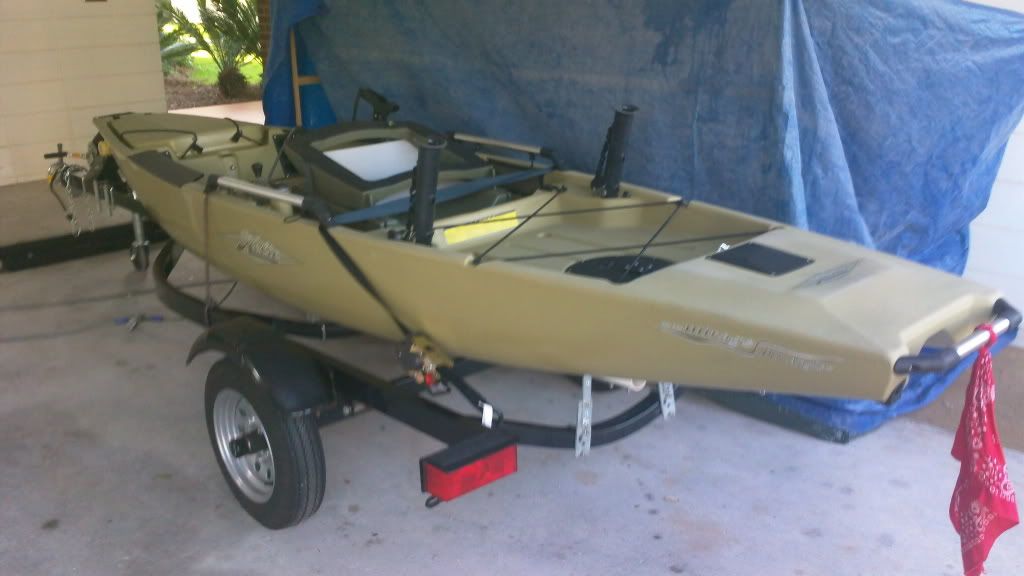
Here’s the PA on the trailer.
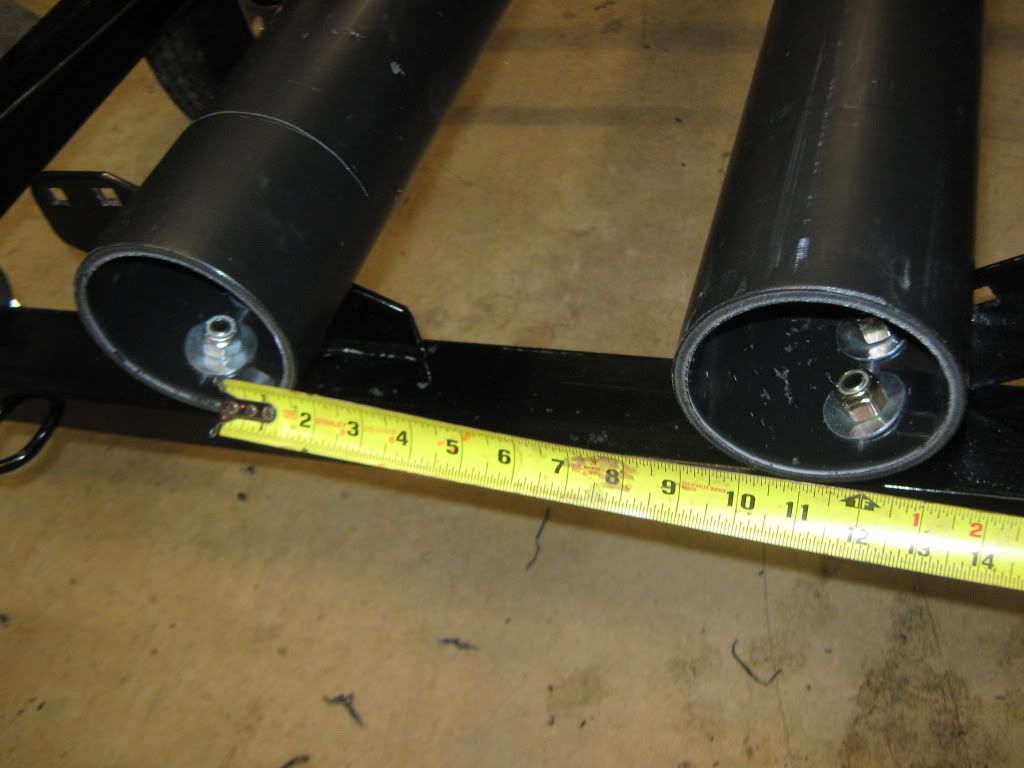
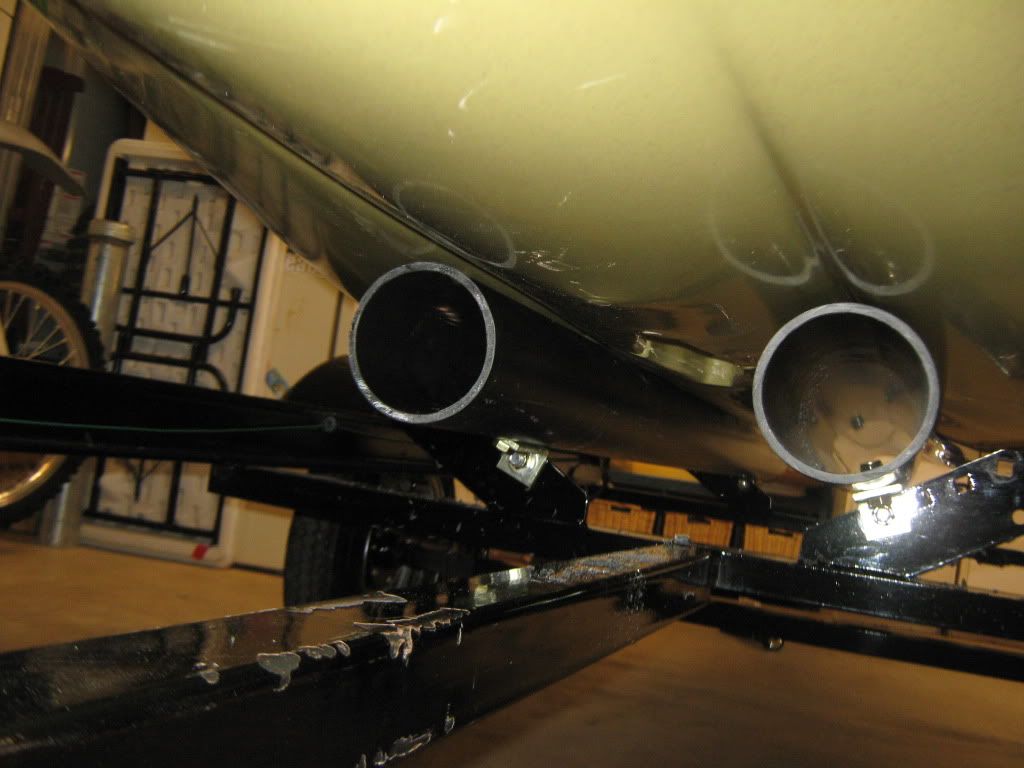
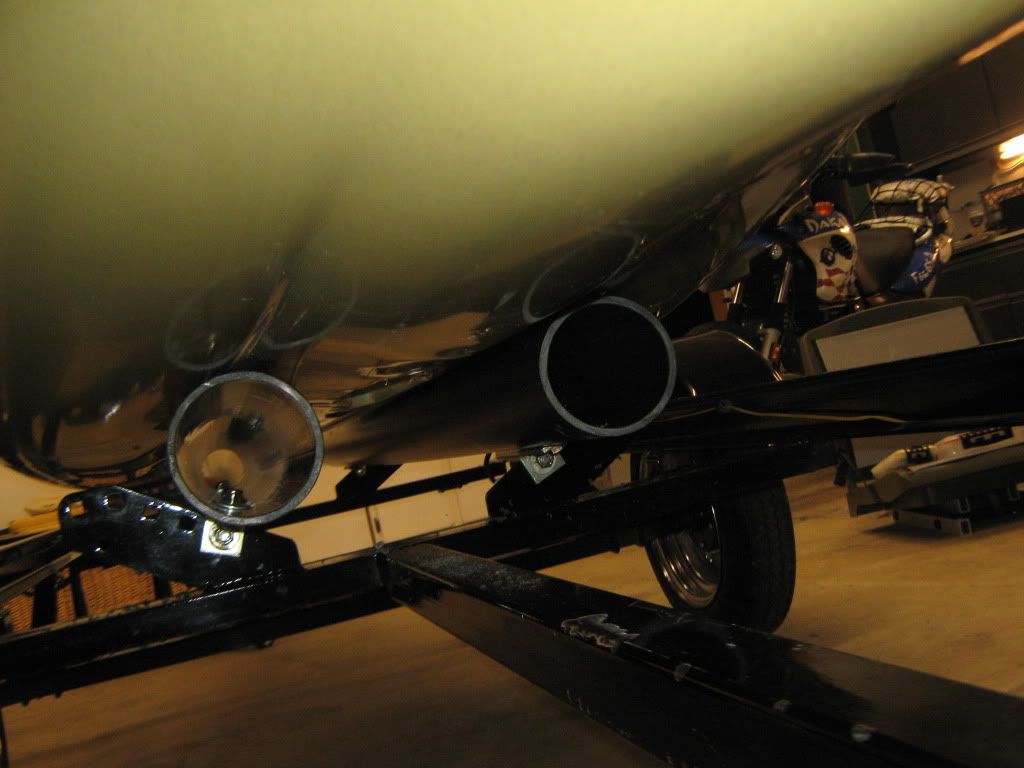
Here’s photos close-up under and where the bunks meet the PA. As the weight begins to flex the bunks, the slots I drilled in will allow the bunk to sag properly and form-fit to the bottom of the PA
REAR:
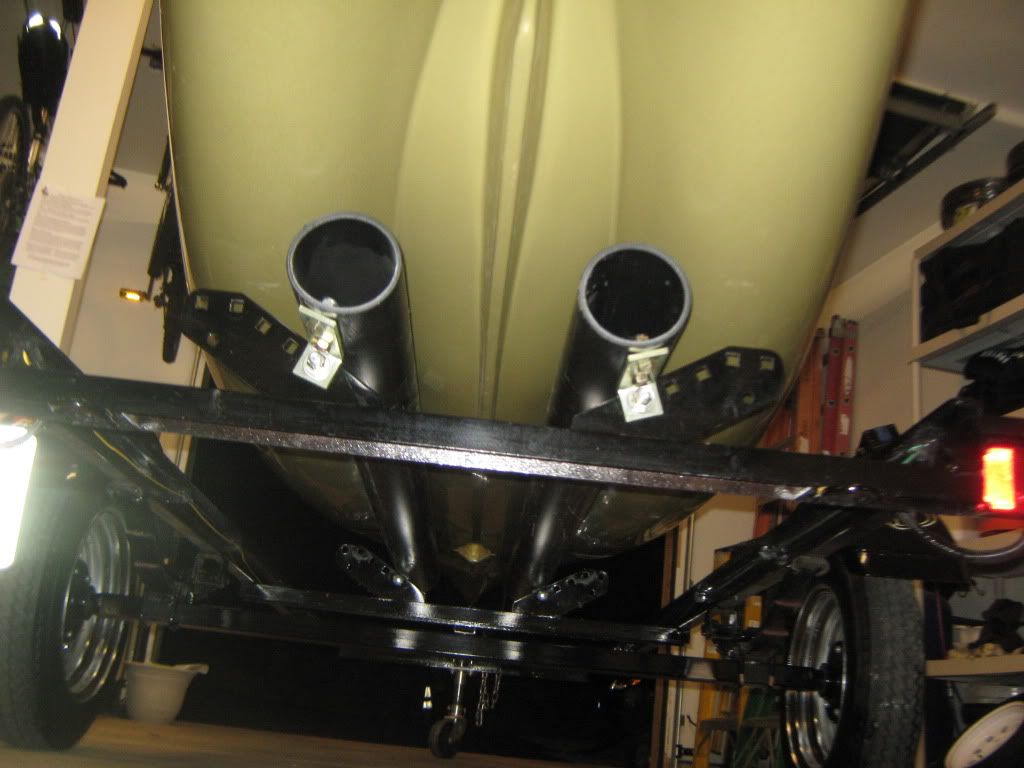
FRONT
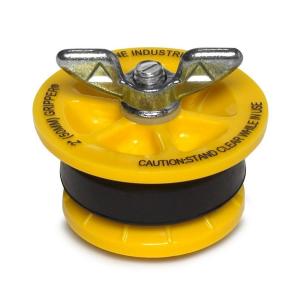
The hardware store had these plugs. They were red and had a gasket and wing nut on them. I think red is for 4”. I could only find a photo of a 3” plug. If you put a plug in each end and had sealed the drilled holes, these tubes could be used for storage.
Well, there you go. Total cost was under $50 for materials from Home Depot and the local contractor salvage and a store called Habitat for Humanity where people donate construction stuff and they sell it to raise money to build homes. With the original $300 investment in the trailer, I found this to be pretty economical way to haul my PA around and store it too.